Showing posts with label hot-end. Show all posts

Friday, 31 March 2017

Upgrades and changes to the BCN3D Sigma 3D Printer including Bondtech extruders


SIGMA v2016 3D Printer upgrades, changes and tweaks

In this blog post I'm collecting up all the modifications, changes, upgrades and general improvements I have done to the Sigma (2016 version) over the last ~18 months.

This blog post and video is for the Sigma 2015/16 versions, and may not be the same for the new Sigma R17 (2017 model).


A lot of the information here is also relevant for any 3D printer, things to check, changes to make and improvements.

The main goals were to improve complex print performance - especially dual colour or dual material 3D Printing on Sigma, and also to reduce the noise.

Thank you to the team at BCN3D for the allowing me to test out some of the upgrade boards in this machine, and also to Emvio Engineering and Bondtech for the dual drive Extruder upgrade kit.

All the info is in the video below, and feel free to use the quick jump point index if there is something you specifically want to know about -

Quick jump index -
00:10 - Intro to Sigma 2016 changes
02:20 - Auto Fan control for hot-ends
04:30 - Hot-end Thermistor changes (PTFE removal)
07:50 - Adding heatsink compound to Hot-ends
12:10 - Fitting Bondtech Extruders to Sigma
16:00 - Updating Firmware eSteps/mm for Extruders
17:10 - Printing with Sigma and Bondtech extruders
18:00 - Further thoughts on testing and upgrades
19:00 - Compare print results
Final thoughts and wrap-up.


Video is also over on YouTube if you wish to watch in HD and also subscribe to my channel for more videos, help and advice.

I'll post a few images below as they are easier to see than in the video. My thoughts and advice are in the video so I'll keep the post short and look forward to any comments or questions - feel free to post here or in the YouTube comments. Thanks.

In the video I look at a number of significant changes Including -

Automatic fan speed control for both hot-ends -


Hot end improvements -

I replace the original hot-end thermistor sleeves (PTFE Max temperature 250 Deg C) with Fibreglass (300+ Deg C)


Still using the grub-screw to clamp for now, but I comment on why this is not really a good idea.


 I show you how to remove the Hot-ends and improve their thermal performance by adding thermal heatsink compound.


I then fit Bondtech dual drive Extruders into Sigma and compare print results.


In all comparison testing I used exactly the same Gcode for both system configurations of extruders (just the eStep/mm setting was changed in firmware for the new Bondtech gear rate).

The Hollow Draudi printed small with standard 0.4mm nozzles is a very tricky small print for FFF 3D printers - Designed by BCN3D

You can get the file here from Youmagine.

"The Hollow Draudi is designed to be created on resin 3D printers mainly due to their empty geometry. In addition, all orifices, modeled with Rhinoceros and Grasshopper, give it a unique personality and a plus of difficulty that will challenge any 3D printer FFF."


This is a tricky print - the extruders need some tweaking, but even with exactly the same Gcode used we can see less stringing and better formed structures between the holes.


Smoother extrusion on the feet - easier to see on the Brim rings - less indications of the individual extruder stepping points on the Bondtech print.


Low-Poly Bulbasaur - Multi and Dual Extrusion version - by- Agustin Flowalistik

Get this great 3D model from Youmagine here


Smoother extrusion and less problems with filament control here using the Bondtech extruders.

And yes, I know you can get better results out of the Sigma, by slowing down the print speed and being slightly less aggressive with the extruder settings, but I wanted to do a like-for-like comparison of exactly the same Gcode here to show the difference a gearbox and dual drive teeth make to a 3D printers extrusion system.

Sigma 2017 -

I also now have the new Sigma R17 machine now, so do keep an eye out for another comparison of the above tests along with the new Sigma R17 version.


If you have a Sigma 3D printer and need any help or advice, please catch me on twitter and I'll do my best to help out. I have been printing with Sigma for a few years now and have (I think) mastered using it for single and dual colour/material printing. It's my go-to printer for all dual 3Dprinting.

I'm really excited for the new Sigma 2017 and can't wait to show you what it can do.

Thank you for reading & watching, see you next time.


Rich.

Please join me on Twitter @RichRap3D   -  https://twitter.com/RichRap3D

Files and designs shared on YouMagine - https://www.youmagine.com/users/richrap

Files and designs shared on GitHub – https://github.com/RichRap

Files and designs shared on Repables - http://repables.com/u/richrap/

My Youtube channel is here, all 3D Printing and Hi-Def video content.


Tuesday, 5 June 2012

Quick-fit Extruder mount and X Axis for the Printrbot 3D printer #30DoC day 5

For Day 5 of  30 days of creativity ( #30DoC ) I give you another addition to the Quick-Fit family, here is a Quick-Fit X carriage and mount for the Printrbot. Designed for any extruder's that can go on my Quick-Fit X carriage.

Mount with 3 LM8UU linear bearings and 4 x M4 bolts rather than the original 2.

Bad photo, but you get the Idea.


I have upgraded the dual bearing X Axis on the original Printrbot to a 3 bearing design, It should now perform better and be more stable doing this.

Above is the new design, below is the original - Note you don't loose any X axis movement or printing area with the Quick-Fit mount.

I'm calling it the PINKrBot for obvious reasons, if you need some ultra bright Pink PLA, Faberdashery have just launched an insanely bright and fluorescent range for the summer - * Punk Star Pink *

Files for the Printrbot Quick-Fit X carriage are up on Thingiverse Here.

While I was in the middle of drawing this for the Printrbot, a quick-fit adapter for Huxley was requested, as they share a vertical X arrangement, it should be possible. I'm just a little worried it will use up all of Huxley's X space!

#30DoC Day 5 - for inspirational work from around the world

I'm not obsessed with Extruder's and X carriages, I just really like them :)

 ** - Also Awesome things are happening over at the Unfold-Fab, right now, do take a look.

Thanks for looking, let me know if you have a Printrbot (built up) and also if you print one of these.

More tomorrow.

Cheers,

Rich

Monday, 4 June 2012

Mini Quick-Fit Huxley sized extruder #30DoC day 4

For Day 4 of  30 days of creativity ( #30DoC ) here is a miniature sized Huxley extruder, designed for my Quick-Fit X carriage.

Ideal if you need a small and lightweight 1.75mm extruder for your 3D printer.

It's a direct extruder (not Bowden) using a Nema14 Motor. 

It also has an inbuilt mount for a 30mm fan to keep your thermal block nice and cool.

It's designed to be used with the Huxley Herringbone gear set I did for Day 2.


It all seems to be mechanically working, but it's not fully tried and tested quite yet.

And I made a new Idler block with a bit more strength to it

The files you need are up on Thingiverse Here.

A little late publishing, but it's still just day 4 here in the UK, time for bed...


Don't forget to take a look at all the other wonderful work for 30 days of creation, * be inspired *
#30DoC the story so far - Day 1 -    Day 2 -   Day 3 -  Day 4 -

Thanks for looking, let me know if you print one.

More tomorrow.

Cheers,

Rich

Monday, 3 October 2011

Yearly review of my Rep-Rapping adventures Sep2010 -> Sep2011

Wow! that went quickly. Review Sep 2010 - > Sep2011

I have some really interesting things planned for the next 12 months rep-rapping, but here is a round-up of my adventures in the last 12 months -


Starting out -
When I first started I made a few incorrect assumptions about the available DIY 3D printers out there, this initially led me to design and build my Screwball-Bot, very strong, highly accurate, but quite slow and VERY heavy.

My advice to anyone thinking about making 'the ultimate', 'strong' 3D printer out of T-slot and ballscrews, don't do it. It's just way overkill, I really enjoyed making Screwball-Bot and I have a really cool plan for it's ongoing use but a Prusa Mendel is almost as accurate, much faster and much easier to build.

If you want a 3D printer make a Prusa Mendel. but if you really want (and need) to be able to Mill/CNC then maybe T-slot and ballscrews are still a good option for you, but think if you will ever really do that when you have a 3D printer? I have never bothered with Subtractive / CNC machining even though I have a machine that could do it really well.
And if you don't fancy sourcing all the parts for making a Prusa, check out the eMaker Huxley, it's a lovely machine (I have one) and is a great way to start on your journey into DIY 3D printing.

Screwball-Bot Links - Concept, Design, Build-up, Wiring, Bowden_Extruder, Test, Printed Results with Reprap Host,  printed results with Skeinforge, Multicolour Printing

Most popular Blog posts -
According to the stats my most popular Blog post is on Skeinforge V41, it now needs an update and maybe a few more details about how to refine settings and what some of the other functions do so maybe I should do an updated one, and as many people now use SFACT maybe that's also worth a write-up.
* We have Skeinforge V42 just landed officially, that's going to be fun - check out the SKIN function* -

Polycarbonate Printing has rocketed up to the number 2 spot.

The other most popular posts are my DIY hot-end and the high-power hot-end
The Filament joiner
Colour 3D printing
Pimp my Mendel - Mendel *Bling*
Masterclass event Organised by eMaker
Bowden Extruder and 1.75mm Push-fit Hot-end

Not many people showed much interest in the Microscopy I did on extruded filament, which is a shame as I thought that was quite neat and I need to do some more to help with understanding the Polycarbonate printing process.

Multicolour printing (Layer selective colour printing) -
 
One of my most interesting adventure was into colour printing, this was always planned from the very start and now we are seeing all sorts of new ways to do this, so it's going to be really fun watching future progress in this area.

My particular way was to join sections of coloured filament together (with my filament joiner)
And as far as I know at least one other person has managed to do the same, with cool results.

Printed by Lenbok

And as Rep-G now has a Dual extruder option, things like these below are starting to pop-up.


Prusa Mendel's -
Building them is addictive, they are just so neat, and it's great helping people build them up.
My collection is growing.
My original Bath Mendel that's currently being upgraded.
And the pimped-up Mendel *BLING* is working well.
My eMaker Huxley Machine (Number 8) - Blog post on this planned.
Shortly the British Mendel will be posted, I'm planning on that machine to accommodate a dual extruder
And then after that who knows, but I'm really enjoying watching progress with the Vertical X carriage challenge by bryanandaimee and I have some other ideas for a 'Hybrid Prusa'
All of my machines have built-in Filament holders, it's quickly the first problem anyone faces after getting the printer working.

Firmware -
I'm only really using Sprinter because of the SDCARD support and the fact it works really, really well and is very easy to understand.
Many others are worth watching, but for me until they have SDCARD support I don't have time to test them.

Electronics -
This would have been an obvious area for me to develop, but so many people are working on hardware enhancements at the moment I'm more than happy to use what's already available.

I have not tried Gen 6 or Gen 7 and don't really see a personal need to use them, the SDCARD support of RAMPS and Sanguinololu electronics are really important to me, so I'm looking forward to any new hardware with local memory or SD support the connection to the PC is becoming much less important.
LCD displays and menu / navigation keys are also increasing in use.

Extruder's -
Again, at the start I believed that I could make the 'ultimate' Extruder, and I believe 'this design' is good and works extremely well as a Bowden set-up. But for Prusa Mendel I would recommend you start with Greg's excellent accessable WADE style and as I have done, then refine aspects for what you need.

Hot-Ends (and cool/cold zones) -
It sometimes looks like Everyone tries to make their own Hot-ends when starting out, (It's the most searched term on my blog stats) it is a critical area of the machine and can have such a massive effect on reliability and quality.
I have made quite a few now and I'm still not completely happy with all aspects but for what it's worth my current angle on this is to use 2 x 10Ohm 3W resistor's in parallel for heating element, a triangle shaped heating block and a PTFE liner (tube) for filament transport that goes right from the hot-end to just short of the Hobbed bolt inside the extruder body.
I Still use PEEK (and PTFE) as the cool transition zone but any new investigations will start to use Stainless steel (and other materials) as the 'cool' zone.
And use these Thermistors, they are so much easier than the tiny ones normally used.

I also have a little fan duct for assisting the cool-end that's designed to fit onto Greg's X-Carriage, this really helps quality and is essential for extreme long-running print runs or build-plates.

Plastic (Filament) -
I have found out a lot about plastic and still have so many more things to learn and experiment with in this area, but for a status so-far I can say the following -

PLA - (Start with PLA), it's easy to extrude and gives good results. My favourite PLA supply is from Faberdashery, it's simply the best filament I have used to date, dimensionally excellent between different colours and batches, colour intensity and choice is amazing and it extrudes so smoothly, no blobs, less ooze and no bubbles and best of all it's not brittle - (I have now used and tested many colours from 8 different PLA suppliers all over the world - a future Blog post planned on this).

ABS - I use it for Extruder's, X-carriages and Y bearing holders and I don't like using it. yes you can get some funky colours but it's annoyingly softer than PLA so I personally tend to get more filament drive issues (clogged hobbed bolts usually) I need to find a nicer way to use it more, but it's not my preferable material.
Again tried 5 different suppliers so far and usable quality seems more of an issue with ABS than with PLA.

Polycarbonate - I'm still testing and not very many (any?) people seem to have used it in DIY 3D printing, but WOW! it's strong and could be the very best material to use for machine-part Rep-rapping, very interesting. - And thanks to everyone that has contacted me about the Blog post and testing, I have had a tremendous response and it's great to see so many enthusiastic and supportive people involved in this wonderful project. Thank you.

PC-ABS - Still to test this mix, the intention is to lower the required extruding temperature.

Other materials - stay tuned, some more are planned (I'm also open to ideas?)

Meeting people (other rep-rappers) 'in real life' -
It was a good year for sharing, we had a really great Masterclass weekend organised by Jean-Marc of eMaker and for me the West of England RepRap user group is starting to get organised and planning to meet regularly.

I can't wait to see what we all do in the next year, it's going to be great!

Resources and contact-
My Youtube channel is here, all HI-Def video content.
Thingiverse Here
You can find me on the Reprap Forum (PM me if you want to make contact)
eMaker forum
Reprap Wiki
And at some point soon I'll find time to try IRC
Should I bother with twitter?

I love reading other people's Blogs, far too many to list, but thanks to all the re-rappers that have helped, problem-solved, discussed or generally inspired me to be part of this great project.

So if you have managed to read this far down I would really like to hear from you on what you would like me to investigate, design, experiment with over the next year? I don't have infinite time or resources, but I'm interested and up for any challenge connected to 3D printing.

Also this would be a great time to tell me what you like and dislike about my Blog posts or content?

Any feedback greatly appreciated.

I wonder what 2012 will bring to our industry? Predictions anyone?

Rich.

Wednesday, 31 August 2011

* Pimp my Mendel * - How to build up a LM8UU Linear Bearing Prusa

Mendel Bling is built up and running better, smoother and faster than I imagined possible.

I decided to make the Bling machine build to be a complete as possible manufacturing solution and also add a few upgrades and ease of use changes along the way, let me know what you think. It’s also a full linear bearing (LM8UU) design on all the axis.


I’m also going to use this as a *basic* overview ‘How to build a Prusa Mendel’ post, hopefully it will help someone or at least give you some ideas for your own build.
I does not cover every step, just highlights many of the main assembly points.

Frame Vertex -
My frame vertexes are a little chunkier than the normal Prusa versions, the only thing to make sure is that you have the same measurement between all frame vertex plastic faces, so if that’s 250mm like the ‘official’ Prusa or 252mm or 246mm like mine then that’s fine, just make sure they are all the same.

Axis lower frame Assembly.
Axis lower frame back with Y motor mount.
X-Carriage - 
This is Greg's X carriage fitted with 3 x LM8UU Linear bearings.

The X carriage assembly with Z ends –
Both the Prusa Z ends are a tight push-fit, I recommend wrapping just the end of the bar in Kapton tape then slightly softening the plastic before pushing it in and holding the plastic in compression against the bar until it goes cold and sets, the wrapped Kapton tape will make it impossible to remove without re-heating, so make sure you push the bars all the way into the Z end, and do one end at a time.

REMEMBER to slide on your X carriage with it’s Linear bearings before attaching into the push-fit ends of the Z axis parts.

Y stage –
If you use Greg’s LM8UU Y axis holders then assemble them in a similar way to this, there are other variants (Joem_)that have mounting lugs etc. so take your pick.

Slide them (carefully) onto the Y stage bars and space them on your frame.

So after making sure your Y axis bars are parallel, straight and spaced appropriately you can screw the Y plate onto your Linear bearing holders.

Keep going, in a short while it will start to look something like this.

The Print bed –
I slightly modified the MDF print bed by adding small wooden bars at both the Y axis ends and spray painting it with high temperature paint, you don’t need to do this, I just wanted to eliminate any flex and also have a slight lip in the Y axis direction to stop extra air movement under the bed and also over the top of the heated surface.

I added a sheet of Aluminium foil 
And then a cut sheet of silicon (kitchen baking silicon)
After this if you can get hold of it (£1 from you local pound shop) I added a sheet of PTFE cooking mesh, this stuff is great, 260 Degrees C rated. Lightweight thermal isolation and insulation for your heated bed.


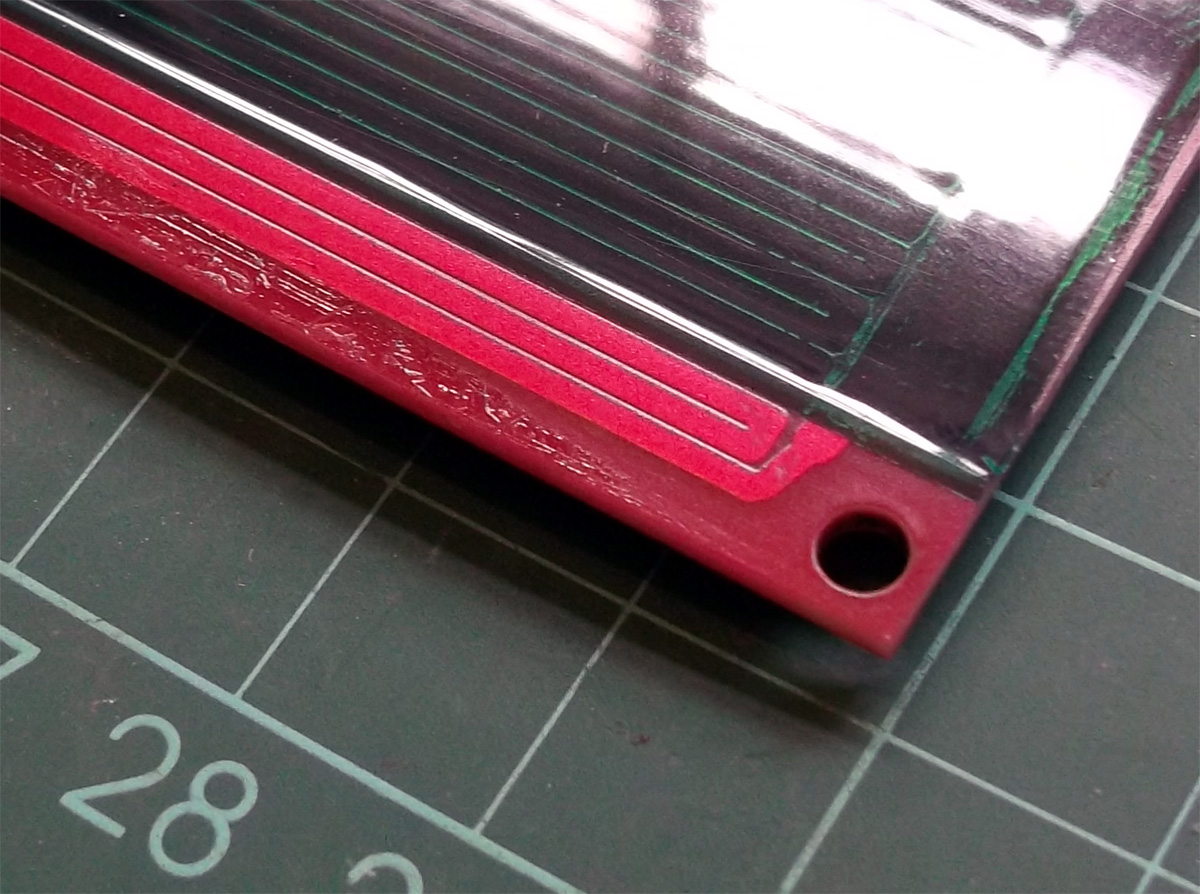
The heated bed is a normal Prusa FR4 PCB; I’m going to use it upside down with the heating tracks on the top surface, so to protect the tracking and smooth it out I covered the bed in PET tape.
Top TIP – Adding the Tape (PET or Kapton) to this side of the PCB has another major advantage, any air bubbles trapped when you put the tape on make their way down the gaps in the tracks so you end up with a really nice surface, bubble free.

If you use the other side it’s not easy so apply the tape and you still end up with an impression of the PCB silk-screen printing text appearing on all your printed parts!

The stack of Alu foil, silicon sheet and PTFE mesh will give you a gap between the MDF and heating PCB, so you need to make sure you have the same spacing or a little more for the four mounting points.
Here I have used M3 stainless steel bolts, nuts and a PTFE washer to get the correct spacing.

Z Motors-
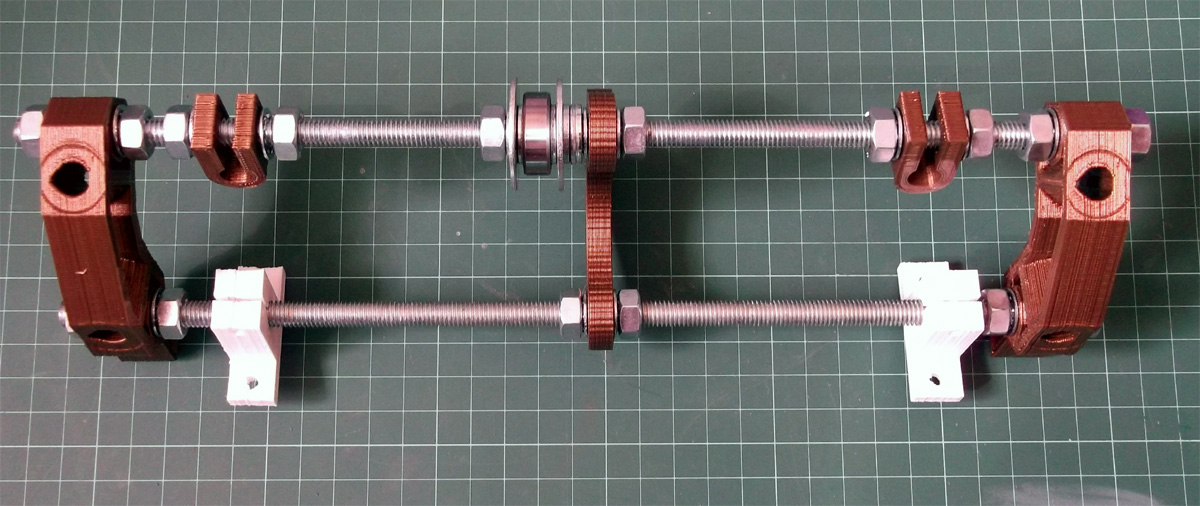
The Z drive motor connections are Nophead’s design, these work well and only need a small section of plastic tube around the motor shaft, heat it up if it’s tight to fit onto the shaft.
These should be done up tightly around the motor shaft and the M8 studding using all four bolts on each.

Z stage –
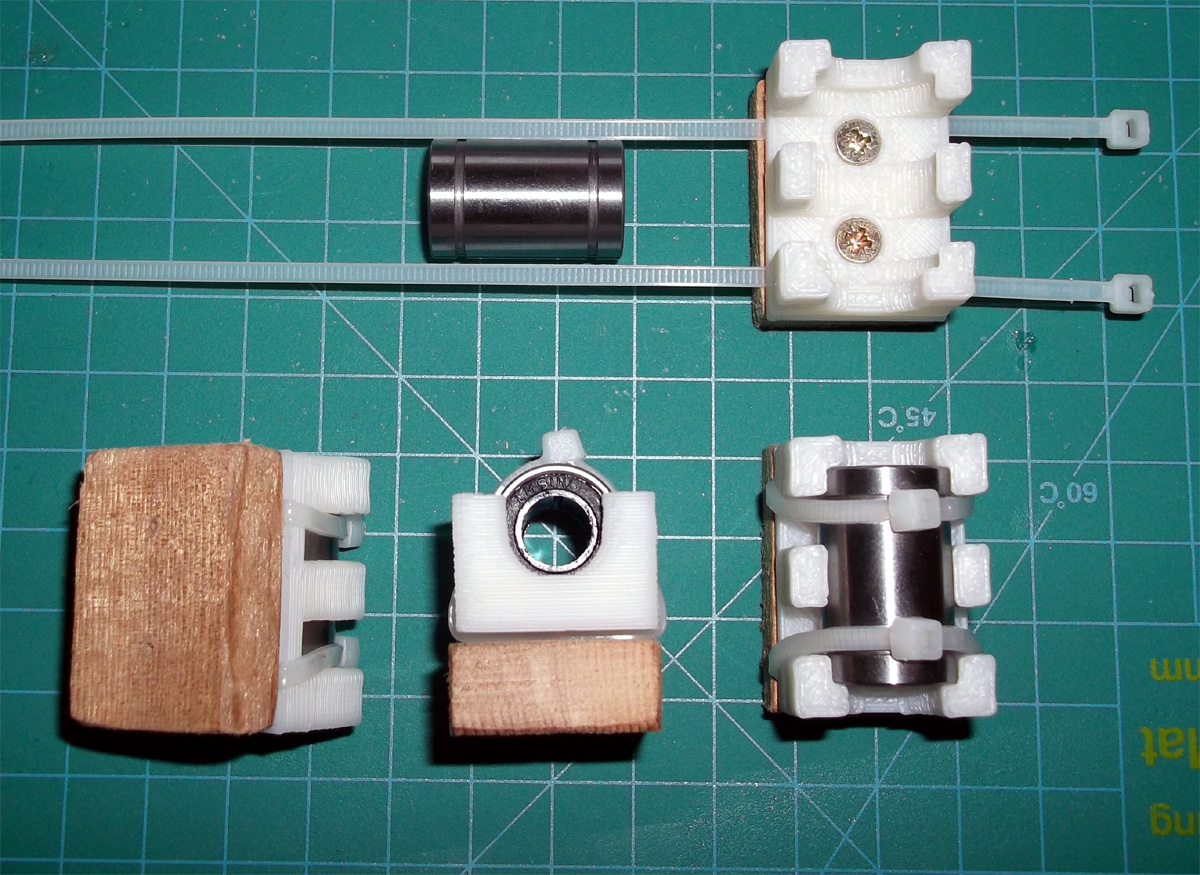
To install the Linear bearings into the Z stage you may need to heat the plastic slightly, it makes it a little easier to click them in and you can make sure they ‘set’ tightly in place and in alignment if you also use a M8 rod while you fit them in place. Secure with ty-wraps.


The motor mounts for the Z stage are both designed to have 4 bolts connecting the motors tightly down, no one actually seems to use these and it is preferable to ty-wrap the Z motors in place to allow them to ‘decouple’ mechanical wobble from Z movements.

I started by only securing with 2 bolts and using PTFE washers, but after a few prints I also ended up using ty-wraps so the motors are floating other than being held in place with ty-wraps.


The next time I take it apart I will also put a sheet of silicon in between the motors and the mount to further decouple any vibrations.

Also when you install the Z motors and the very straight M8 studding remember to add a spring inside both sides of the hexagon sections, it should be under compression between the top and bottom M8 nuts so when you do Z moves it reduces backlash to an absolute minimum.

I also added Rod stabilisers to my machines top and bottom of the Z drive rods.

I think they do help support the Z transport very well and help with vertical alignment, but you don’t really need them.


Belts and pulleys -
I have used off-the-shelf Metal pulleys this time as it’s using the 2.5mm belts and I didn’t have time to cast more of the fine pitch pulleys, I also wanted to see how tricky it was to drill and tap the metal pulleys, it’s not hard, anyone with a drill press and a simple hand tap could do it.

Top left shows how they come, you need to drill them out and add another hole for the grub screw and tap that with M3

Attach the pulleys to the motor shafts and use a good quality grub screw to keep it in place.


Greg’s X carriage has an in-built tensioner system.


Install the Y belt and if you keep the Y belts long enough so you can pull, adjust and tighten them even after the build platform is on then you should not have to disassemble anything to tighten belts in the future. 
I just taped the spare ends down to keep them tidy.

The extruder is Greg’s design along with my own Fan duct mounted on the X carriage.


The hot-end heater block is my version here - 

Electronics –
I’m not going to explain how to make up the electronics here as there is very good documentation on the Wiki and also everyone seems to have a different preference with electronics and there are so many variants.
I did have some new (at the time) RAMPS 1.3 PCB’s but I decided to use up the last 1.2 PCB I had as they are not very different in reality.

I plan to use the 1.3 Versions in a future dual extruder machine that will look quite different to this machine.

I’m housing the wiring and electronics in a simple ABS case (175mm x 110mm x 66mm).


Neat wiring and cable identification is a good thing to make it easier in the future.


RAMPS installed and some of the stepsticks for testing.

Make sure you have nice chunky wires and good crimps for your +12V power connections to the electronics.

RAMPS V1.2 does not have a separate Poly-fuse for the Heated bed, This one is 11A rated and connected separately to another set of +12V wires from the ATX PSU and then on to the heated bed, the return from the heated bed goes to the H-bed MOSFET sink (GND) on the electronics.

These are simple mechanical endstops to my own design, but you can use whatever switches you have or opto-endstops if you prefer.

I added a few LED indicators so I can see when the power to the system is on, the heated bed is active and the hot-end is being driven, I recommend doing this it tells you a lot about how your system is working and is nice to check things happen when you expect them.

When running from SD cards it’s always nice to be able to quickly remove the card to update Gcode, so I decided to extend the SD cable to the outside of the enclosure in an easy to access spot. 
To do this I simply used a cut-down Ribbon cable (an old PC Floppy drive cable) and fitted a male connector so I can fit the SD card adapter. I have not had any problems doing this, but keep this ‘extension’ as short as possible.

I’m using Stepstick motor drivers in this machine, they are almost identical to the Pololu versions, and in the photo you can see both the Pololu (top left) and Stepstick below.

Think about cable strain relief and give yourself plenty of cable to allow free movement especially on the Z axis and the extruder assembly.
Added an on/off switch for the ATX psu (this is on the low-voltage side, instead of just wiring it to ground to get the ATX to turn on), it can be classes as a panic button also as it will shut down all motors and heated things.

To mount everything and as a frame for a filament spool I use some 20mm T-slot Aluminium, you could just as easily use wood or threaded bar for this ‘extension’. The Mendel is fixed to this via 4 x 8mm printed plastic mounts at the base and two small M8 threaded rods for extra stability using the normal Mendel mounting plate at the top. The electronics box and ATX psu are all mounted to the t-slot frame.


At the very top there is space for a standard 30cm filament spool using another M8 threaded rod. This means the whole thing can be picked up and easily moved all you need is power and a USB cable that can also be removed after you set off a print using the onboard SD card.

Finally four rubber feet to minimise vibration and noise .

Software and firmware is your choice, and many more are on their way as I write this, I’m using Sprinter and Printrun (Pronterface) along with Skeinforge V41 but people are starting to use SFACT, I just had a quick go and it has much easier to understand names for the settings, and a lot less ratio's, so be sure to check it out.

First print.
It’s first print was successful and it went on to print all my multi-coloured things a few posts back.
It’s now going to be hard at work making more stuff and of course a grandchild…

Thanks for reading, I hope it was useful.

Rich.