Showing posts with label design. Show all posts

Thursday, 31 December 2020

2020 Year in review - 3D Printing Adventures and a look to 2021

Hello Everyone,

It's fair to say that 2020 has been a difficult year for everyone.  I almost didn't write this blog post, but I wanted to finish off 2020, looking forward to a better 2021.

With the global virus pandemic causing troubles and uncertainty we all have less time to do the things we enjoy. This year has certainly been a strong reminder to us all, to try and enjoy as much of life as possible.

I have kept 3D Printing during all of 2020, but have not managed to share as much as I would have liked. 

I started off 2020 firmly intending to do a lot more 3D Printing development, life and the global virus somewhat got in the way of many plans. We had a lot of 3D printing events cancelled and social meet-ups have been impossible.

Here is a little summary of a few things I have designed and printed and a some general thoughts on the 3D Printing market, open source projects and interesting things that have happened in 2020. And finally a look to 2021.


Retro inspired concept computer - 

Some of you will know that along with a strong passion for 3D printing, I have a love of retro computers and 'old' game systems, it's an ongoing interest that pre-dates 3D printing and something that I still enjoy and do to this day. One of my early 2020 projects was a reimagining of a 3D Printed classic computer, loosely based on the Amiga and C64 range of the 80's and 90's.

The 'C=Next' concept computer (using a real Amiga A500+ Keyboard) Yes, it is 24 Inches wide!

This was a large multi-part print, three large sections for the main keyboard and some end caps for the I/O on each side of the computer.

I had an old A500+ computer that died a death from an internal leaking battery (I know, it's tragic this was not better stored or should have had the Varta battery removed long ago) - But it did allow a donor keyboard for the new machine.


Yes, the logo is colour changing :)

This has further evolved over the year, it probably deserves a blog post of it's own, if you want to see more on this project and the evolution of the internal electronics inside, let me know.

3D printed electronics and enclosures - 

Ok, so it's not '3d printed electronics' but I have printed out around 15 different PCB models to help verify they can mechanically fit, and assist with the design of many electronics enclosures this year.

Even basic enclosures can be simple to 3D print and give a 'finished' look to a prototype.

I can highly recommend using brass threaded inserts when designing any sort of enclosure you intend to open up or fit together accurately. A temperature controlled soldering iron can assist with inserting into a pre-printed post as shown above.

3D printed test and programming fixtures are now a common design for any new prototype electronics or product developments. They are simple to print and build and can easily save you thousands in the cost of getting something 'professionally' made. I have made up a lot of different 3D printed rigs and jigs this year.


Brackets, mounts and almost anything that needs a place to accurately fir into a system or development - I loose count of all the mounting plates, adapters and holders I have printed this year. pre-production runs of 3D printed parts is now a common aspect of product design and development.

3D printed pond filter system - 


During the UK summer lockdown I decided to upgrade the pond filter system. I could not get out to any shops and I didn't want to order a system online, so I decided to try and make a pond filter system from a plastic box, some unused pond filter sponges and some 3D printed parts.

I decided to add a little shelf so the clean filtered pond water could exit the box as a waterfall.


I already had a good working pond pump, so this entry (above) was the dirty water inlet.


Some sponge filters I had from an old pond filter that died many years back.

Filters cut to size and inserted into the enclosure along with some gravel for added weight.

The pond filter has been working really well all of the year.

Lots of practical 3D printing this year - 
 I could probably bore you all to death with all the practical 3D printing I have done this year. It's been sometimes a necessity because other options didn't exist, or an opportunity to use 3D printing to solve a problem quickly.  
Replaced some fence posts and I didn't like any of the fence post toppers, so I designed and printed my own.


This shelf had no end caps or iron-on strips, so a quick bit of 3D cad and a few hours of printing later - with wonderfully colour-matched recycled grey PLA, it was finished off nicely.

Even a simple end-cap for an unused plastic plumbing waste pipe - this was quicker to design and 3D print than a trip to the hardware store.

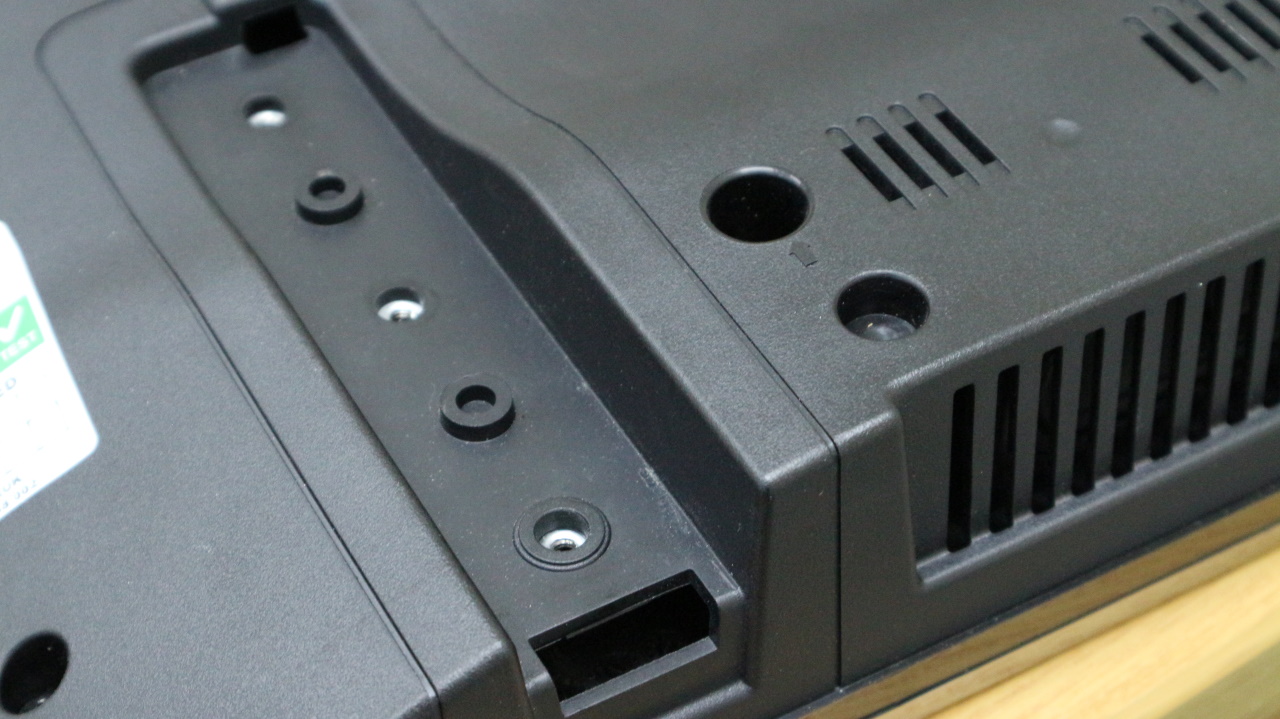
I had a wall mounted TV that needed to be desk mounted again, but the original feet were missing.

A quick (and solid) design and 3D print later, we had two new desk mounting clamps for the TV.

Mounted and fixed to the desk, it's going nowhere.

I could go on with more practical 3D prints this year, but you get the idea - a lot of things were fixed, repaired and produced with 3D printing this year. I doubt more than a day went past when I was not 3D printing something for someone or for myself.


The end of 2020...


The 3D printed Advent calendar's come out every year, they still are a great talking point both for 3D printing and the vast selection of different materials used.

If you want to see all the Advent calendar days printed, start at Day 1 here and on my original blog post series from 2017

Many of my past projects and experiments are still active in one way or another today, people continue to innovate and evolve ideas. Even as we enter 2021, 3D printing is still in it's 'early stages' of being useful to the 'average person'. When you start using 3D printing to solve every day problems, and turn design ideas into practical printing solutions it's a wonderful tool. 

We have seen some really great OpenSource and OpenInnovation 3D printing projects this year. I plan to cover these in 2021 and also get further involved with as many as possible.

Things I would like to see more of and help with in 2021 - Please reach out to me if you are doing or planning any of these, I will try to help if I can. (Most of the links below are to my past blog posts doing similar things).

  • The continued increase and use of sustainable (multi-use) filament spools / Cardboard and MasterSpool filament coils.
  • More recycled plastic content in 3D Printing - both as recycled filament materials and as re-used print waste. Recycling filament plastic (2015)
  • Greater development of direct pellet extrusion systems and materials for desktop and industrial 3D printers. - Here is one of my early Pellet extruder experiments from 2014
  • More tool-changing systems - additive and subtractive - manufacturing systems, continuous printing (belt-printers) and automatic build platform change systems.
  • I would still like to see many more light weight extruder+hot-end systems, ideally around 200g total weight. I see a lot of bowden based extruder systems that could/should benefit from a good quality, light and strong direct-drive-geared extruder and hot-end combination. Especially on machine using IDEX, they could be greatly improved with a move away from bowden to a light weight direct extrusion system, maybe 2021 will bring more to market.
  • I'm always looking for interesting 3D Printing filament materials, especially engineering grade or ones that that are matched to classic computer colours. A few have popped up during 2020 Printed Solid over on Twitter has a range of Retro computer filament colours
  • I'm still incredibly interested in paste extrusion, coupled with a tool-change system and some FDM printing it could offer a lot of good options for manufacturing and making.
See you next time, and if you have a new and interesting 3D printing project, development or material you want me to take a look at, do get in contact.

I hope you all had a safe and happy holiday season, and Happy New Year for 2021

Rich.

P.S - If you haven't yet found the joys of Podcast's, do consider giving them a go. I can strongly say that without Podcasts in my life, 2020 would have been 10x harder to 'experience'.


Please join me on Twitter @RichRap3D if you want to discuss more about 3D printing (or retro computing).

My Youtube channel is here, all 3D Printing and Hi-Def video content, I do hope to get back to publishing new video content in 2021.


Thanks for reading.


Sunday, 30 April 2017

TAZ6 Octo-Tool holder and a reminder that thermoplastic can be reformed after 3D Printing

TAZ 6 Octo-Tool holder. Design, 3D print and post thermoforming


Last month we saw a lot of people 3D printing the hairy lion. That inspired me to design a complex looking tool holder, but with an easy way to 3D print out the model and some easy re-shaping of the tentacles after printing (using hot air for thermoforming).

Inspiration for this idea came from the Hairy Lion model by Primoz Cepin

The hairy lion is a good example of re-forming thermoplastic into a different shape after first printing in a much easier model, that's more optimised for the 3D printing process.

I made a video about the design, and how to shape 3D printed parts after 3D printing below -


You can also find this and more on my YouTube channel in HD over here

The model is printed out flat. It's easy to both model and 3D print this way.


After printing, shape the legs into interesting positions by using a heat-gun. This is Colorfabb nGen material, great for thermoforming. PLA is also very easy to form using hot-air or hot water.

The metal plate shown above is simply being used as a heat shield so the tentacles bend exactly where I want them and the body is not deformed.


You may need to do a little more bending once fitted to make sure tentacles are not in the way of the 3D printer moving parts.


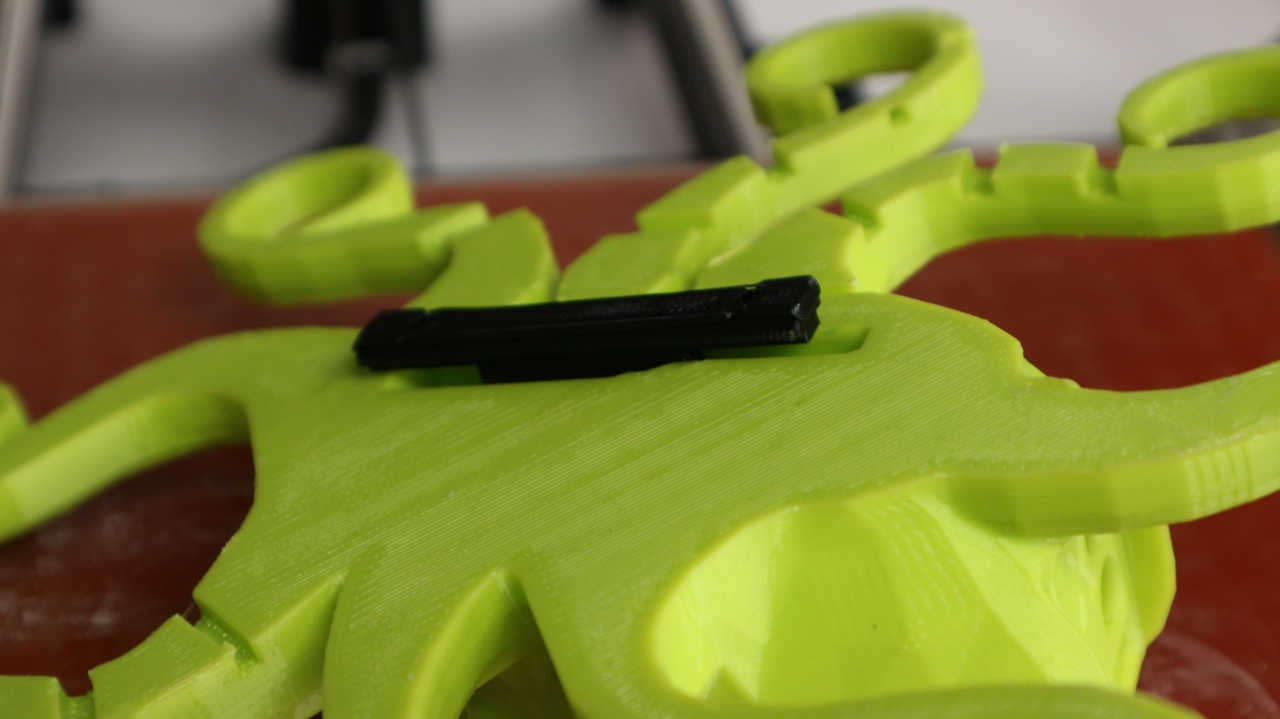
A 3D printed clip allows you to slide the Octo-Tool holder onto the machine.


You just need to slot the clip into the TAZ 6 20mm aluminium t-slot section on the left hand side.
You could add many other tools and upgrades to your machine this way.


You will need to remove one part of the TAZ 6, just to allow the clip to slot in. Be careful not to loose the t-slot nuts, they do enjoy slipping down the aluminium channel sections. Use blue-tack to hold them in place.


The top tool holder can also be printed and fitted, if you would like to have a different top tool holder, then feel free to alter the Freecad model included with the Youmagine link below.


It can be fitted using the existing bolts, just loosen then a little and slot in the top tool holder.


Add tools and SD cards, and you are all set with even more awesome TAZ 6 3D Printer.

I have posted the design files for these models and the STL's for 3D printing along with advice for assembly onto your TAZ6 are over on Youmagine here

The original original Bucket O' Octopodes (thicker legs) - by moleofproduction can be found here - http://www.thingiverse.com/thing:8896

2D Scanning for accurate 3D models
One tip I didn't talk about in the video above is an easy way to make shapes for tools like the Pliers.

I have used this method many times and it's a great way to ensure existing objects fir into 3D printed parts.


Take a 2D scan or a good photo, or the object. Then just load (import) this image into your CAD program and scale to a known dimension of the object. For this set of pliers, I measured the distance of the middle round section and scaled the image so that dimension was correct. then you know you are at the correct scale for the model.

It's then just a case of tracing around the image and producing a plane you can extrude, to form an indent for the object. You can round corners and add grip points as I did in the top tool holder.

I have replaced all manner of objects using this method, from shower mounts to kitchen utensils, just from simple 2D scans using a flat-bed scanner.

I hope that was useful, do comment and please subscribe to my YouTube channel for more 3D printing adventures soon.

Rich.

Please join me on Twitter @RichRap3D   -  https://twitter.com/RichRap3D

Files and designs shared on YouMagine - https://www.youmagine.com/users/richrap

Files and designs shared on GitHub – https://github.com/RichRap

Files and designs shared on Repables - http://repables.com/u/richrap/

My Youtube channel is here, all 3D Printing and Hi-Def video content.


Sunday, 21 February 2016

Filaflex 3DPrint Moldmaking - Deathstar Soap on a Rope

*#* Deathstar Soap-on-a-Rope *#*

This is another project inspired from childhood memories of Christmas and gifts (and Star-Wars).


I made up these all this before Christmas, as they were presents - I'm posting details and files now as a how-to-tutorial, I hope you find it interesting and experiment with 3D printed mold making too.


It's Christmas 1983 and I have been given yet another Soap-on-a-Rope. Everyone is still talking about the new Star Wars - 'The Empire Strikes Back'. I probably have some Star Wars based presents here somewhere... I keep on unwrapping... Oooh a Transformer, cool.

Many, many years later.

It's Christmas 2015 and everyone is talking about the new Star Wars - 'The Force Awakens' And I know some friends that will appreciate a Soap-on-a-Rope :) Transformers are still doing well too!

Lets' make lots of them - Using a little 3D Printing magic.

For anyone who does not know what a Soap-on-a-Rope is (did you not have a childhood?)  It's basically a soap shaped into an object or character, with a rope loop sticking out the top. They were very popular in the 70's and 80's - they were also very rubbish, lost all features of the 'design' after one use, always dried up and fell apart leaving soap shards or the rope just dropped out). But still, I remember them fondly.

The 80's were innocent times, most of the soaps were popular characters of the day or friendly shapes. If you google 'soap-on-a-rope' now - don't blame me for what comes up in the search! 

I don't know quite why, but I even made a video - check it out below or over on Youtube in HD.


And so my mission was to produce a 3D Printed soap making mold in FilaFlex so I could delight some of my friends with the totally pointless 'Deathstar-On-A-Rope' - the 80's were so great!

Luckily for Death Star models, we have a nice design already made - Unfortunately many of these models are not manifold (meaning they are not a valid mesh and may have some errors, holes or intersecting triangles) that makes it tricky to further process. So first job was to 'fix the Death Star'.

The starting point was the Deathstar Christmas tree ornament by plainolddave - thanks Dave.


I checked the model with Netfabb (free) - but that was not able to correct all the problems, so Meshlab was needed to get this model error free.


Meshlab (also free) has some powerful model checking and verification tools, these can also clean up your model and fix many common issues. It did not take long to get this model repaired and ready for the next step.


We now need to generate a mold model we can 3D print. We have two straightforward options - 

Option 1) - As all 3D model meshes are a hollow 'shell' we can actually cut this Deathstar model in half, put each half in another 3D box and we have a very basic two part mold that could be used. Ideally you also need to add some locating pins and sockets on each half and a pouring hole.

Option 2) (much easier) - Use the rather fantastic - Parametric two-part mold generator for OpenSCAD by Jason Webb - This makes the job of cutting the model in half, adding location pins and a spout for pouring so easy it's almost automatic.


You will need to scale the defined numbers in the OpenSCAD script and make a few changes to select sizes suitable for your model file for the mold. You can also select a square or round mold and the location of the pouring hole etc.

But it's very easy - Just install OpenSCAD, and start by changing the model name being used as the master for the mold. Then you can start looking through the script and altering scale and size to match your object. You really don't need to understand programming, just read the comments in the script and experiment with changing the numbers, I have posted my modified script so you can see what this model required to get the molds correctly aligned.

You may find it easier to use Netfabb or another program to rotate or scale the model rather than try to make more significant changes to the OpenSCAD script. Keep things easy and experiment with the values, and you should end up with a two part mold (from almost any other STL model), you can print out and use.


For printing, I strongly recommend using a thermoplastic elastomer (TPU) like FilaFlex from Recreus. This material is flexible enough to allow easy removal, but also holds it's shape well. It's also ideal for temperatures of melted soap, candle-wax and chocolate. Other TPU's are available - Ninjaflex, Semiflex and soft PLA all can work well for molds.

I recommend using the clear, white or a light coloured TPU, I had some very minor staining of the white soap base when testing out the mold using the neon green FilaFlex material. It was not as noticeable when using the clear soap, but you can still see a slight green tint.


The FilaFlex molds were printed out using a BQ Hephestos V2 3D Printer, as this machine has a very good feed mechanism for soft rubber materials. (it's the best I have found so far).

I used a 12% infill and two perimeters with a standard 0.4mm nozzle running at 243 Degrees C and 45mm/second print speed. You could use less infill, but this makes for a strong mold you can use over and over again.

Finally I used easy pour soap, you can buy it in slabs or ready cut into chunks, just heat it up as you would chocolate (but at around 75 Degrees C), and pour into molds. It comes in clear and opaque, the opaque is less tacky and seems to help highlight more details.


You can also experiment with colour - if you want a grey Deathstar, use equal parts of red, blue and yellow colouring.


Consider adding some glitter if that takes your fancy or natural additives like lavender, vanilla, peppermint etc.


Christmas is over, but this gift would be ideal for a birthday. We also have Easter, so that's just crying out for a chocolate egg shaped exploding Popping-Candy-Deathstar! Have fun :-)

You can find all the source and model files including the modified OpenSCAD script for this project over on my Youmagine page here.

May the force be with washing you!


Thanks for reading, please let me know what you think and if you want to see more posts like this.

Until next time, I'll be in a galaxy far, far away...

Rich.