RepRap Hangprinter Workshop @ E3D with Torbjørn
In this blog post and video I'm going over how we got on at the recent HangPrinter workshop at E3D in Oxford (UK).

The HangPrinter workshop video can be seen below, or over on YouTube in Full HD on my channel here -
I'm lucky to be only around 90 minutes away from E3D, they now have a new and dedicated unit in the breathtaking Oxford countryside.

Their previous setup consisted of five separate workshops. A company motorised golf cart shuttled various components and completed assemblies from one to the other most days. (no joke).

Now with everything under one roof, E3D is an even more well oiled machine of innovation, development, manufacturing and thousands of orders being shipped all over the world.

This is a typical view on the drive over to visit E3D - if you ever get the chance - take them up on the offer!
Their previous setup consisted of five separate workshops. A company motorised golf cart shuttled various components and completed assemblies from one to the other most days. (no joke).

Now with everything under one roof, E3D is an even more well oiled machine of innovation, development, manufacturing and thousands of orders being shipped all over the world.
I arrived at E3D a few days early before the workshop started. Torbjørn already had his Hangprinter attached to the roof of the E3D workshop. It's around 7 meters up and was a stunning sight.

I was utterly taken back with this 3D Printer, now the size of E3D's workshop and printing out a wonderful HangPrinter chair...

Hollow chair form and HangPrinter chair (at the back) - was printing well until I 'tested' the disaster recovery feature ;)
That was until I stepped on and tripped over the lines and stopped it printing - all about 10 minutes after I first arrived! - I made a significant entrance :)
A day later Torbjørn discovered the Mechaduino firmware had a nasty rounding error, so that bug would be tracked down and removed before the workshop even started. The V3 design is now significantly more robust at disaster recovery with that very nasty bug now gone.
The magic sensor - *Mechaduino*
The Open Source Mechaduino by Tropical Labs is a very neat little magnetic encoder board.

It's perfect for a project like Hangprinter as it has no endstops, bed probe or way to know if the print head has become knocked out of alignment.
We assembled up these onto the backs of NEMA17 motors for the Hangprinters being built in the workshop weekend. They are a far better, neater and lower cost solution to most other encoder systems available.

The Mechaduino uses a simple round magnet on the end of the NEMA17 motor shaft. That magnet (you should superglue it to the shaft) will then rotate each micro-step of the motor's movement. A multi-pole magnetic encoder will detect the exact orientation and know if a motor has skipped steps or if force is being applied (torque mode).

Once the mechaduino is assembled, the internal firmware (running on a 32bit ARM cpu) calibrates the rotation of each motor individually. This is required as the magnet may be aligned slightly differently, or the distance from the sensor may be variable. After calibration, you can mark up each motor with an Axis and also give them a unique address. This is so the modified Hangprinter Marlin firmware can communicate to each one connected to the bus.

We had plenty to do before the workshop participants arrived the next day, Torbjørn and I set about with as much pre-assembly as possible to make it a more straightforward build schedule.

Basic assembly done, we left all the interesting build assembly steps to the participants.

That included, firmware, software and application setup on their laptops.

Measuring and wrapping lines around the HangPrinter pully gears.

Assembly, soldering and wiring up.


Wiring was the most time consuming, we could have saved around four hours if a pre-made wiring loom was available for the Hangprinter system - that's one for next time or anyone else that's thinking about running a 3D Printer workshop.

After some final assembly and a pre-flight check that everything worked. It was on to the calibration of the Hangprinter.
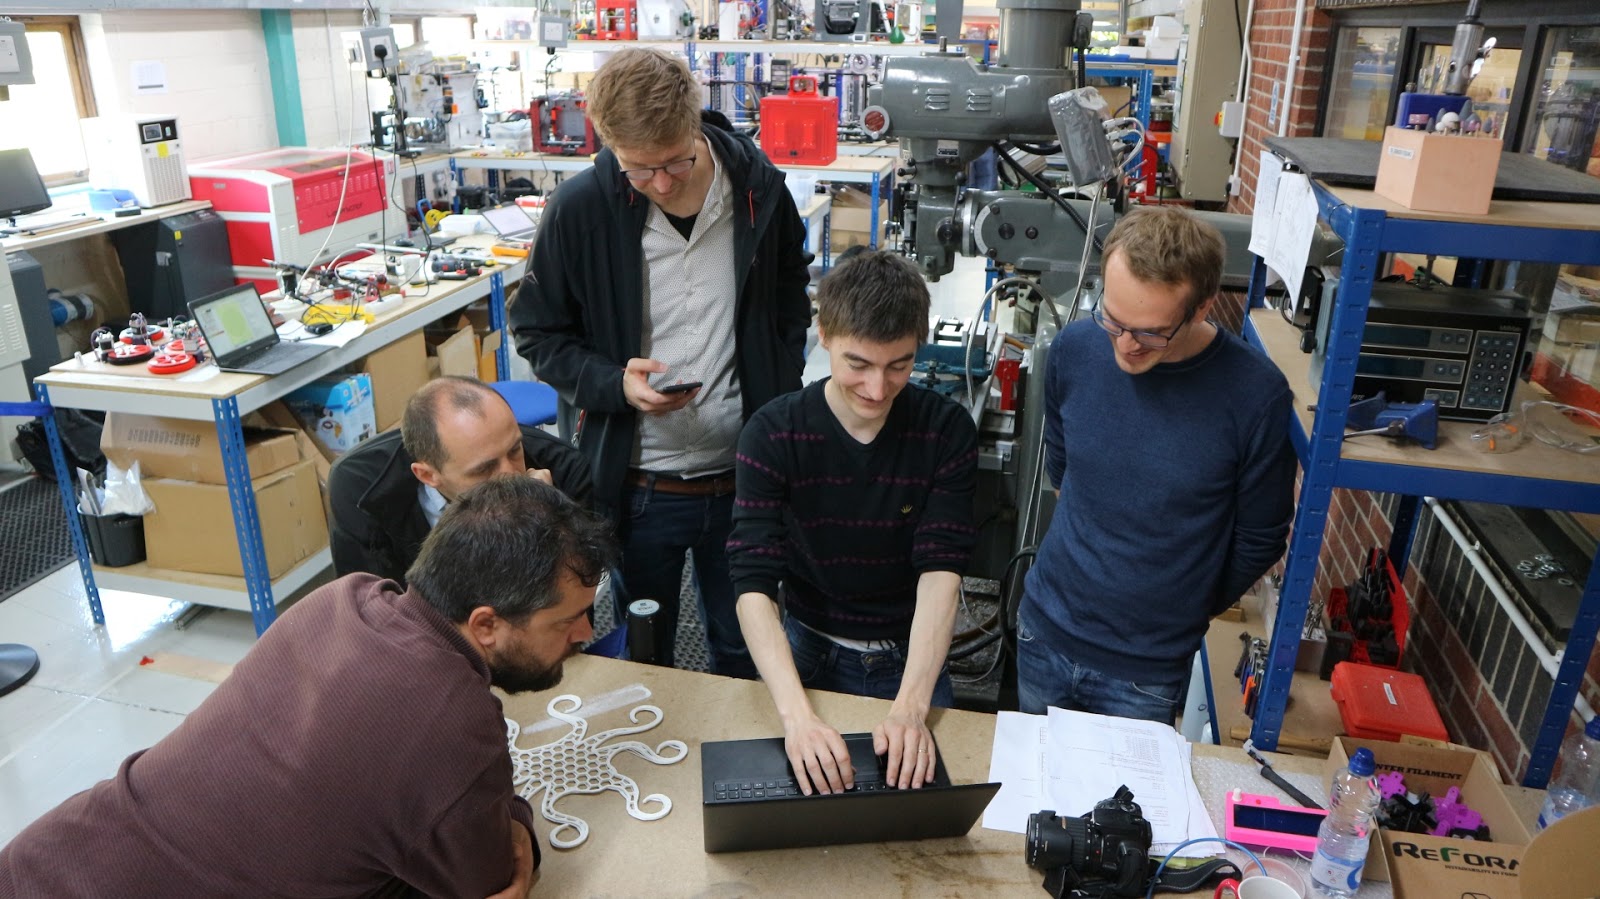
Auto-calibration of the build space is one of the most impressive aspects of HangPrinter - and only possible by the Mechaduino drivers and encoders.

You basically turn on 'Torque mode' and walk the print effector around the build volume - a script takes data points and maps out a calibration of the build volume.

You can check the calibration - shown above it was millimetre perfect!

You finally then just set the print nozzle onto the build platform and register a zero Z position, switch out of torque mode and can shortly start a print. Above Sanjay from E3D is checking out the test print from the SuperVolcano hot-end and 1.2 mm nozzle.
The lines were tightened and print quality significantly improved. This turned out to be a very nice print.

During the workshop, I setup the HangPrinter portable frame - still a very large print area, but tiny when compared to the ceiling mounted V3.

The 'portable' uses a slightly smaller configuration for the motor plate, and three arms to form the frame.

These are all still 3D Printed parts for the frame sections to join. The top mounts are hinged for even more portability. (it all fitted into my car as an example).

The extruder mount fits onto the effector, I have made various mounting plates, above for the Bondtech extruder, and another for the E3D Titan Aero.

A short while later, I manages to string the machine and get it all set up for it's first 3D print.

I did not calibrate the portable Hangprinter. All the calculations for the firmware setup were made from the cad drawing of the built machine. This proved to be good enough for a first print, but some real-world calibration was

Amazingly it all worked the very first print. It was over-extruding, and the lines were a little loose, Z height calibration was not correct (my fault in the cad file - not allowing for a lower build platform).
But not a bad first print.
The lines you can see on the build platform were used to get a centre point (by hanging the effector on the D lines) and also to align up the A, B and C lines to the A frame mounting points.

We all then stopped for a special RepRap Birthday celebration - 10 years of Replication!

Special guests.

Lots of 3D Printing talk and ideas :)

And you can't have a party without a cake !

Happy Birthday RepRap !

Adrian Bowyer checking out the test Octopus print on the Hangprinter V3 installed at E3D - Image by Sally Bowyer of RepRap Ltd. CC BY-SA 4.0 Original image on Instagram here

The workshop was a wrap, we had a lot of fun and now even more HangPrinters are ready for printing.

Thanks Torbjørn - we had a great and successful 3D Printing workshop. I hope more people run them and the HangPrinter becomes even more popular.
Torbjørn continues with the Hangprinter project, and I'll be also setting up my machine for further experimentation and development. Stay tuned for future updates.

Almost all the parts (including many spares) for the Hangprinters were printed on my newly built Prusa i3 MK3 - A few were also printed on the MK2 as a comparison of quality, speed and accuracy.
A build video (with my daughter) and thoughts on the MK3 machine will be coming up in a future video and blog post.
HangPrinter Portable -
If you have an interest in the 'HangPrinter Portable' I made for the workshop, leave me a message of ask me about it over on Twitter. I'm planning to make a few changes to the top mounts to be more solid, but then I would be very happy to post the design files, firmware configurations and 3D Printed components for this version if anyone is interested?

Thank you ! -
I had a great time working with Torbjørn, we were also very lucky to have access to the brand new E3D workshop - tools, components and lots of help from everyone! - Our thanks to everyone involved and the entire team at E3D for helping to make the workshop weekend a really great success.
If you want to find out more about the amazing HangPrinter project, please visit - http://www.hangprinter.org/
Version 3 HangPrinter Forum thread is here - http://forums.reprap.org/read.php?1,792937
GitHub Source for HangPrinter is here - https://github.com/tobbelobb/hangprinter
Thanks for reading, see you next time.
Rich.
Please join me on Twitter @RichRap3D
Files and designs shared on GitHub
Files and designs shared on Repables
My Youtube channel is here, all 3D Printing in Hi-Def video content.