Showing posts with label art. Show all posts

Monday, 15 September 2014

Review of the 3D Printshow London 2014

The 3D Printshow in London had a rather fantastic mix of everything this year.


I spent three days up at the show, met lots of great people and took far too many photo's.

Kerry and the team running the 3D Printshow have such an immense job, it's almost impossible for anyone who just visits to see what goes into a show like this. Ultimate respect for the team, and next year with an even more ambitious schedule all around the world, it's going to be even more work. They are recruiting if anyone wants to take on the challenge !

I made a short but fast video & slideshow to show some of the great parts of the London 3D Printshow 2014 - I hope it gives you a taste of the way both the consumer and professional 3D Printing industry is progressing. The 3D Printshow team is off to Paris again, very soon.


I would also strongly recommend viewing it directly on YouTube as it's in HD - direct link here.

Along with the 3D Printshow team, I need to say such a big thank you to the team at Fabbaloo, who made my time at the show so much fun. We were all on the Knowledge bar stand with a mission to help anyone that asked us anything at all about 3D Printing (or anything else for that matter) - we had some really great questions and discussions this year.
One thing that's really clear this year was that people from all walks of life have figured out that 3D Printing can and will help them in one form or another. The media hype is dying down and I only had two conversations about 3D Printed guns this time!

Many questions last year started with, how does it work? what can it do? or what can it make? This year most of them started along the lines of I work in X industry and we want to use 3D Printing to help us do X, what do I need to know? - that's always a good sign that things are moving along.

Another really great signal is that lots of people wanted to know how to get involved in the '3D Printing industry', many of these were school age or about to go into further education. It's obviously not all that clear what skills you need for a career in 3D Printing. And to to be honest, as things evolve and 3D Printing takes on more avenues in various industries. Maybe it'll start to look more like an enabling tool rather than a specific industry anyway.

So many good things happened at the show, lots of great people and companies with missions and goals, shaping this industry into something really very special.

When I got home and the dust had settled, one company really stayed in my mind. They are using 3D Printing and other technology for further education and learning, with our next generation of creative minds - the kids.

But not only that. It involves parents and a wider net of influencers to show with creative technology, education can be fun and rewarding, on so many levels. That company is I can make - I would encourage anyone to take a look at what they are doing and get involved or spread the word.

Accurate sections of London Bridge - show mechanisms and construction to assist with learning and exploring the real world.

It's going to be really interesting to see where I can make takes this. If the education system responds well and also parents get involved I can see a very bright future. Very best wishes from me, and I'll do whatever I can to help.

Collaboration - 
Not all that much new technology was in force at the show this year, it was very hard to find even a single delta printer at the whole show. Yes, some new low-cost SLS machines were around. But what was happening was a clear joining of forces between companies who have been around for a little while and are starting to figure out what it's going to take to succeed in this consumer landscape.

Fuel3D and Ultimaker announced a cooperation to bundle the Fuel3D scanner with the Ultimaker 2.
Colorfabb and Eastman have joined forces and seem to be planning to take over the world :)
3D Hubs are working with a lot of people and are experts in sharing and cooperation for mutual benefit.

Lots of other things are also going or are about to happen, but I can't tell you about them at this time, sorry. It's certainly an exciting time for the industry and we have even more thrilling times ahead.

Services - 
We have always had 3D Printing services, and this year was no exception, what was more 'on-show' was a strong focus to provide more as a service. Se we still have actual 3D printing by the likes of Shapeways and i.Materialise, But many more now are offering design services, verification and a whole host of 'cloud 3D printing' - many who didn't even seem able to explain what it was they were offering. "it's cloud based" was all I got from one. I didn't ask any more.


One great UK company (with real people who care and are not up in a cloud) who has always gone that extra mile for the client is 3D Print UK if you are not already aware of them, do take a look.

3D Hubs was swarming with people for the entire show, I only managed to get to talkto them on the last day. They featured local hubs who got a chance to talk directly with the very people who they work remotely for through the Hubs network. They also announced a $4.5M funding deal to make 3D Hubs the only real choice for networked printing on the planet. Many others are now trying to get into this area. I must have had five or six different start-ups talk to me about a 3D Hubs like network of users, One even claimed to have the world's biggest network. Then re-stated we hope to have the biggest, one day. Getting people on your 'platform' is going to be a hot focus over the next year.


Art and fashion - 
Was in full force at the show. This year the organisers had hundreds of budding hopefuls apply, and they had to turn down most of them for not making the grade. It seems Artistic use of 3D Printing is now a solid form in it's own right. Fashion is still trying to work within the limits and it's doing a very good job indeed.

There was far too many fantastic works to put down here (watch the video above) - but here are a few that I was drawn too.


One of my favourites at the show was the 3Doodler dress by SHIGO - Yes, I know it's not '3D Printed' get over it, it's awesome !


Francois Veraart had a stunning piece on show - Dutch masters of dance, it's great fun and wonderful to look at.


Another one that struck a chord with me was the stunning work by Shane Hope - these pieces have so many features and detail, it's unlike anything you have seen before. It brings a whole new dimension to artwork and although I myself have done some simple 'melted Art works' before this was something else, something spectacular.

It was a real pleasure to meet Shane and talk about his ideas for future work, I'm sure you will see a lot more of Shane's work to come.
Photo's and even video do not do it justice, it's just the sort of thing you need to see in person, study, explore and feel the creation of each piece.


PussyKrew was another example of stunning computer imagery brought to life with 3D printing and lots of hard work - these prints used Ultimaker printers and hand finishing to great effect.


I just realised I want to add about another 30 more, but that's going to make this post massive, so watch the video for more amazing works.

One I can't leave out is the fantastic model of Big Ben by Mark Durbin (AKA MakeALot), Printed on Ultimaker and Delta Tower printers with Colorfabb materials. More of the scale and design in the video above.


Another personal achievement was listening and meeting Enrico Dini of D-shape (the man who prints houses) he is an inspiration for me and it was a joy to see his work and hear his story fist hand.

Other than houses, one of the things D-shape prints are these fantastic Artificial reef modules in real stone (dolomite), once in place fish and marine life take to them. 3D Printing is the only real way to make such complex structures like this.


And last but not least - What was the general Hype level? 

Quite low really... Thankfully.


The only thing that really grated on me was that all Makerbot staff had t-shirts on with the following "I CAN MAKE ANYTHING" - Any of you who were at my presentation on the Saturday of the show, would have heard my response. Hype and misleading marketing is generally not a good thing in my view. We have all worked hard to get across a realistic view of what current 3D Printing can do for people, and that's a lot already.


And I'll leave you with something not to do with 3D printing. I didn't add to the video, but has a deeper meaning to me and many more -


Here we have some stunning images of the 888,246 poppies around the Tower of London moat to commemorate and represent all the British Military Personnel who died in the first World War, which broke out 100 years ago. The last poppy will be planted on 11th November.


 Every single poppy is made in ceramic and is hand planted in the grounds, it's breathtaking.

See you next time.

Rich.

Thursday, 11 April 2013

3D Printing with Nylon 618 filament in Tie-Dye colours


 * Tie-Dye 3D printing with Nylon 618 *


Taluman Nylon 618 is a very versatile printing material. Nylon does not require a heated bed, has low warp, and cooling fans are not required for both big or tiny printing.


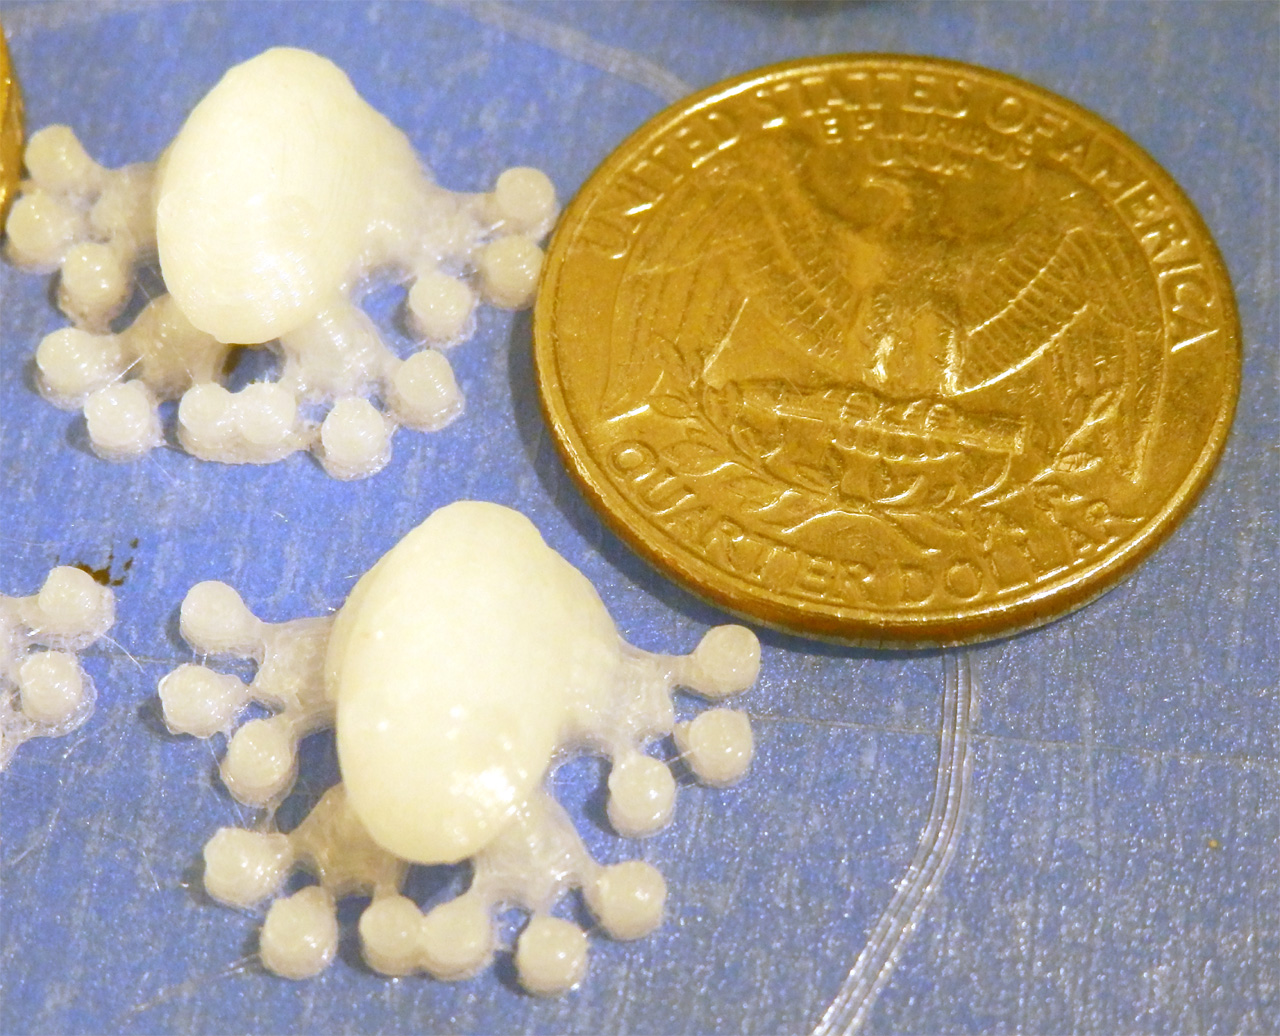
You can print big and really tiny things in Nylon

No fans or heated beds required!


Nylon has amazing self-bonding properties making any FFF (layer-by-layer) printed objects very strong and less prone to de-lamination.

Natural Nylon 618 material.

Another aspect of its development was the ability to colour the Nylon with fabric Dye. That hits almost every spot for me!

From the moment I spotted the 618 Nylon was available I wanted to try colouring the raw filament with more than one colour, something I have always wanted manufacturers to make is a range of filaments that have changes of colour during the roll or even across the roll, now I had a way to do it myself.

Taulman 3D recommends printing with the natural filament and then dyeing the parts afterwards for best results, but I wanted to see what happened when dyeing the filament first as that sounded a lot more fun.

Nylon 618 Intro video- 

Here is an introduction video going over the simple Filament Dyeing process, You can also watch it in HD on YouTube Here -

I wanted as simple method as possible to dye the filament rolls, nothing too messy or complicated, so obviously I ignored the instructions...


I used powder based Rit dye, this is compatible with Nylon, if you try anything else, do make sure it's suitable, some Dye's state they are not, and some (Dylon for example) don't seem to give any real advice on Nylon. Other specific acid based dyes are designed for Nylon, but getting hold of them is not all that easy in the UK, seems a little easier in the US.

The Rit Dye website recommends adding Vinegar when trying to dye Nylon, I can say that really didn't work for me, and seemed to make the dye almost useless. I’m not sure why it didn't help as the acid content of Vinegar or other things like citric acid are often used when dying Nylon based products.

You can use other natural dyes for Nylon, Cotchineal (squashed bugs) makes a very strong red dye, Turmeric and tea also work on Nylon.

Other links suggest adding add extra Salt to the Dye, this does not seem to hinder the dyeing process, but it's hard to say if it also helped with my particular setup as I only did it with one colour and that was an already  dark shade.

After ignoring the instructions for the dye and most other information I could find, I just boiled a kettle of water, and added around 200ml to the Rit Dye sachet in a glass Jam jar – stirred for 1 minute until dissolved.

It's a good idea to tie-wrap or secure the filament into a coil before dyeing. Also you want to drop the filament into hot (boiling if possible) water before putting it into the dissolved dye. Just for a few minutes to get it up to temperature.

Here is a before and after shot.

Note - the Nylon based tie-wraps also dye really well!

This is how it's done -

Then I just put the hot filament into a Zip-top bag and poured in the 200ml of dye, as you can see I wanted just half or less of the coil to be covered in the bag (depending on bag size).


Leave it for 30mins and shake/swish it about in the bag once or twice if you remember.
You can leave it for longer, but 30mins seems to be a good time to get a nice colour from this extra concentrated dye.


After 30mins or longer, you can remove the coil, and rinse in warm water, then cold water.


The one I added vinegar too was unfortunately the magenta (pink/fuchsia) so that really didn't work at all well, and ended up being more like a light pink/orange for some reason – I'll try again without the vinegar next time.


The yellow was done just with the Dye, this worked really well and was very fast acting and seems to give the strongest colour when printed.


For the Teal (dark green) I tried adding salt, this didn't seem to help and maybe needed longer to get a deep colour, hard to tell, but next time I use Rit dye it's going to be just plain.

Basically I would warn against adding Vinegar or salt and try to keep the dye as hot as possible for as long as possible.


You could do a whole coil if you lay it down in a zip bag or boil it up in a pan, or if like me you want a mixed filament 'tartan look' ;) rotate the filament in the bag and add another colour. Dye the next section like above, rinse and repeat.


Starting to look rather awesome don't you think?

In the end you should have tie-dye filament! you then need to dry out really well before use.


I'm sure you could wrap and bind the filament in all sorts of ways with rubber bands or plastic to get some really interesting and colourful effects.


I did think about drying it in an oven, I have done this before with ABS and PLA, this should also work well for Nylon, but as I was going away for a week I decided to leave the coils in an airing cupboard at a slightly elevated temperature, this worked extremely well and all of my spare ABS is stored in this cupboard permanently to keep out any moisture.

Another trick mentioned on the RepRap forums (by Sublime) is to put your filament in a metal of wooden box with a low wattage light bulb (~25w) to keep it dry. You can of course use desiccant sachets, but remember these really only do absorb a tiny amount of moisture and need to be dried themselves for re-use.


Printing with the filament is just as normal, I didn't see any issues at all with it. No steam or pops as the filament was really dry, actually better than when it had been originally delivered.
Layer bonding seems as strong as with natural Nylon, the only change I decided to make was to increase the temperature of the print to 235 degrees C.


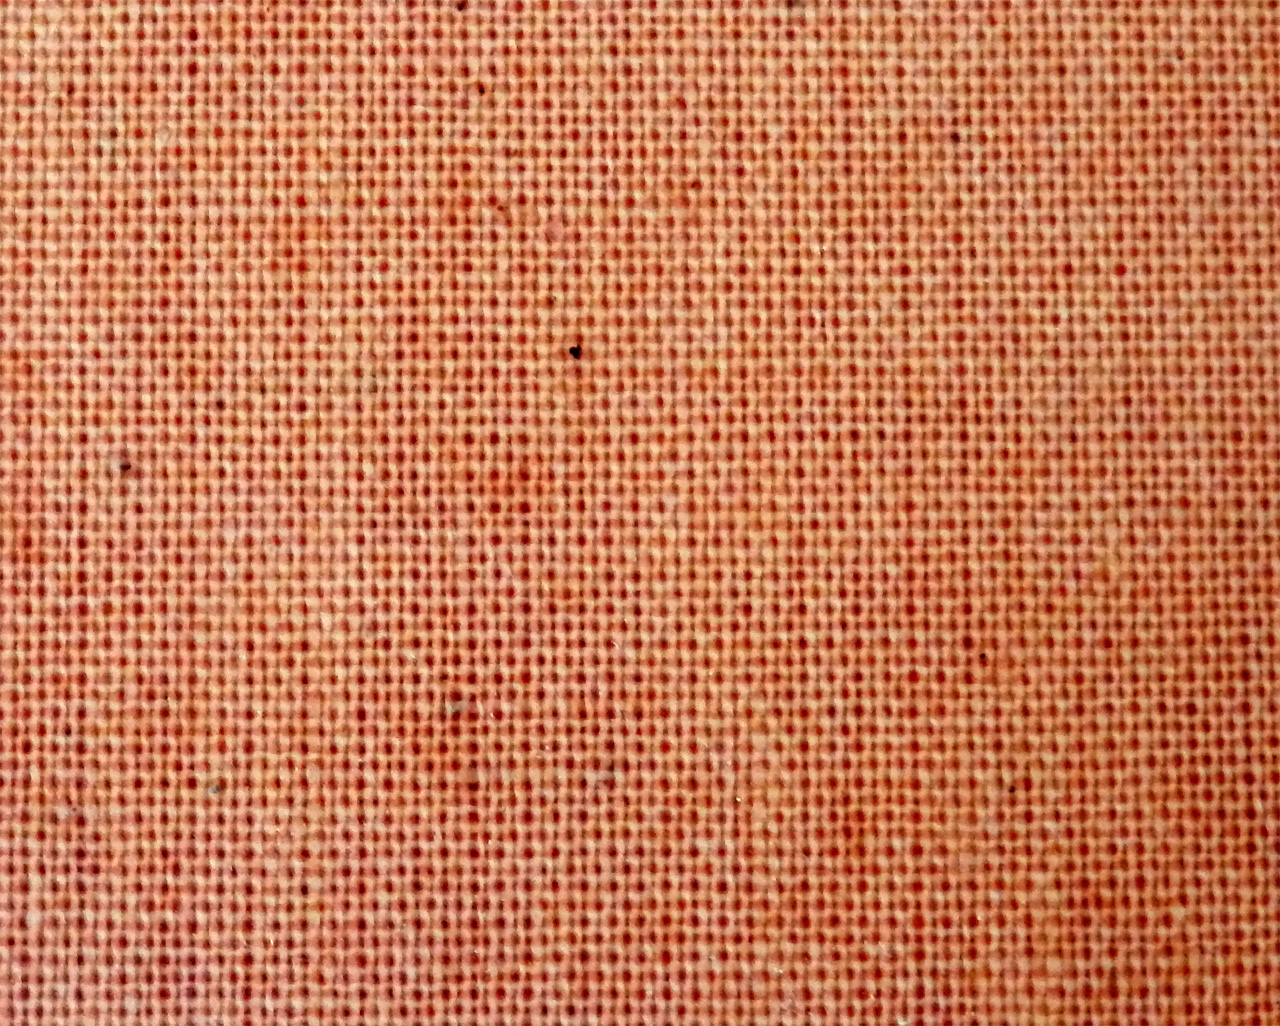
And one final note, if you plan to use Nylon for printing, MakeAlot directed me that the best surface material to print on is Tufnol (Whale brand) this cotton weave, resin based laminate is often used for mechanical jigs in the electronics or test area. You need to get the Whale brand type and not other similar products based on fiberglass or composites.

This is what the Tufnol (Whale brand) surface looks like.

It will go by different names over in the US (often Garolite LE) and may have other names where you are.


Tie Dye Printing and Destruction testing Nylon 618 video- 

Here is a video showing the printing of Nylon on Tantilus and Rostock, I also do a little destruction testing at the end, showing the relative strength against PLA - You can also watch it in HD on YouTube Here

After initial testing I had been lowering the print temperature of the natural Nylon down to 225, but I noticed the dark Teal colour looked shinier and smooth at a little higher temperature, so 235 Deg C is my now normal setting for Nylon @60mm/sec printing speed using a 0.4mm J-head nozzle.

Blended Natural and Teal bands add another dimension to the Tron and Plus Vases

Cutting the filament cross section shows that the dye penetrates in about 85%, so you have a tiny core of natural looking filament, this obviously all gets melted together in the extruder nozzle but it’s interesting that the colours do not seem to really fade in the extruding process as I thought it might, you do end up with nice and unique looking parts, especially when the filament is cross multi-coloured.


I expect that doing a better dyeing process, having more agitation and constant high heat would dye the entire filament and produce even stronger colours.


I was originally trying to get a mix of Cyan, Magenta and Yellow filament, and where these colours mixed should have also given me Red, Green and Blue. But I could only get hold of Teal (dark green) instead of Cyan and I also didn't allow the coils to mix enough as I rotated them for each of the coloured dips.


I like this method as after you have dyed your coil there is nothing else to do, where as dyeing the parts after printing would be a pain each time you made a printed object, so I'm please how the first test came out and will dye more Nylon Filament with some other colours next time.


I have printed all these models using both the Tantillus printer as this was setup for 1.75mm Filament and also the Rostock for bigger models, both with cold Tufnol print surfaces.


Printing bigger Nylon prints on the Rostock also seems to work extremely well, I have only done a few so far, but the Rostock seems very happy with Nylon too.

And they stay very stretchy, the dye does not seem to make any difference to layer bonding or stretch.


I really love these gunny sacks, they print well and look great.


Many thanks for the great models by Ben Malouf (BenitoSanduchi) and Perry Engel (Cerberus333) these really make wonderful test pieces for Nylon printing and being thin walled they don't take very long to print. Check out more of Ben's work on Thingiverse Here and Perry's Here


Let me know what you think and send me some pictures if you try out any Tie-Dye printing!


I bought 3 rolls of the Taulman 618 filament, and dyed a lot of it, all sorts of different colour mixes, many I have not yet had time to try out, and it does go a very long way when printing hollow pots!

Plenty more great things to print out that deserve the Tye-Dye treatment, let me know what you would like to see Tye-Dye 3D printed and I'll do my best.


Very excitingly as I typed this up, Taulman3D has just announced a new clear Nylon 645 material with very high strength properties, I can't wait to try it out. I can imagine dyeing this new clear material would look rather fantastic when printed.


In other 3D news - 

E3D All metal hot-end -

I just received a new all metal hot-end from e3d-Online, it's one of the best machined objects I have ever received. And this really is an all metal hot-end, no PTFE inserts or sealing tape, just a stainless thermal junction and Aluminium heater block and heat-sink.
If it operates as good as it looks, we should have another option for really high temperature printing.

It's not as heavy as it looks :) it has a J-head compatible Groove mount that fits perfectly into Greg style extruders and all the modified Bowden hot-end mounts I have made so far.

I plan to test it with Nylon, Polycarbonate, PLA, ABS and PC-ABS and any other materials I can get my hands on very soon.
I may need to change the thermistor over to a thermocouple for some materials, but I will let you all know how it performs.

3D Printing Presentation in Cheltenham - 

Also, I will be speaking about RepRap and 3D printing along with demo's at the Cheltenham design festival -  April 13th, do come along if you can and say hello.

Thanks for reading, happy printing.

Rich.