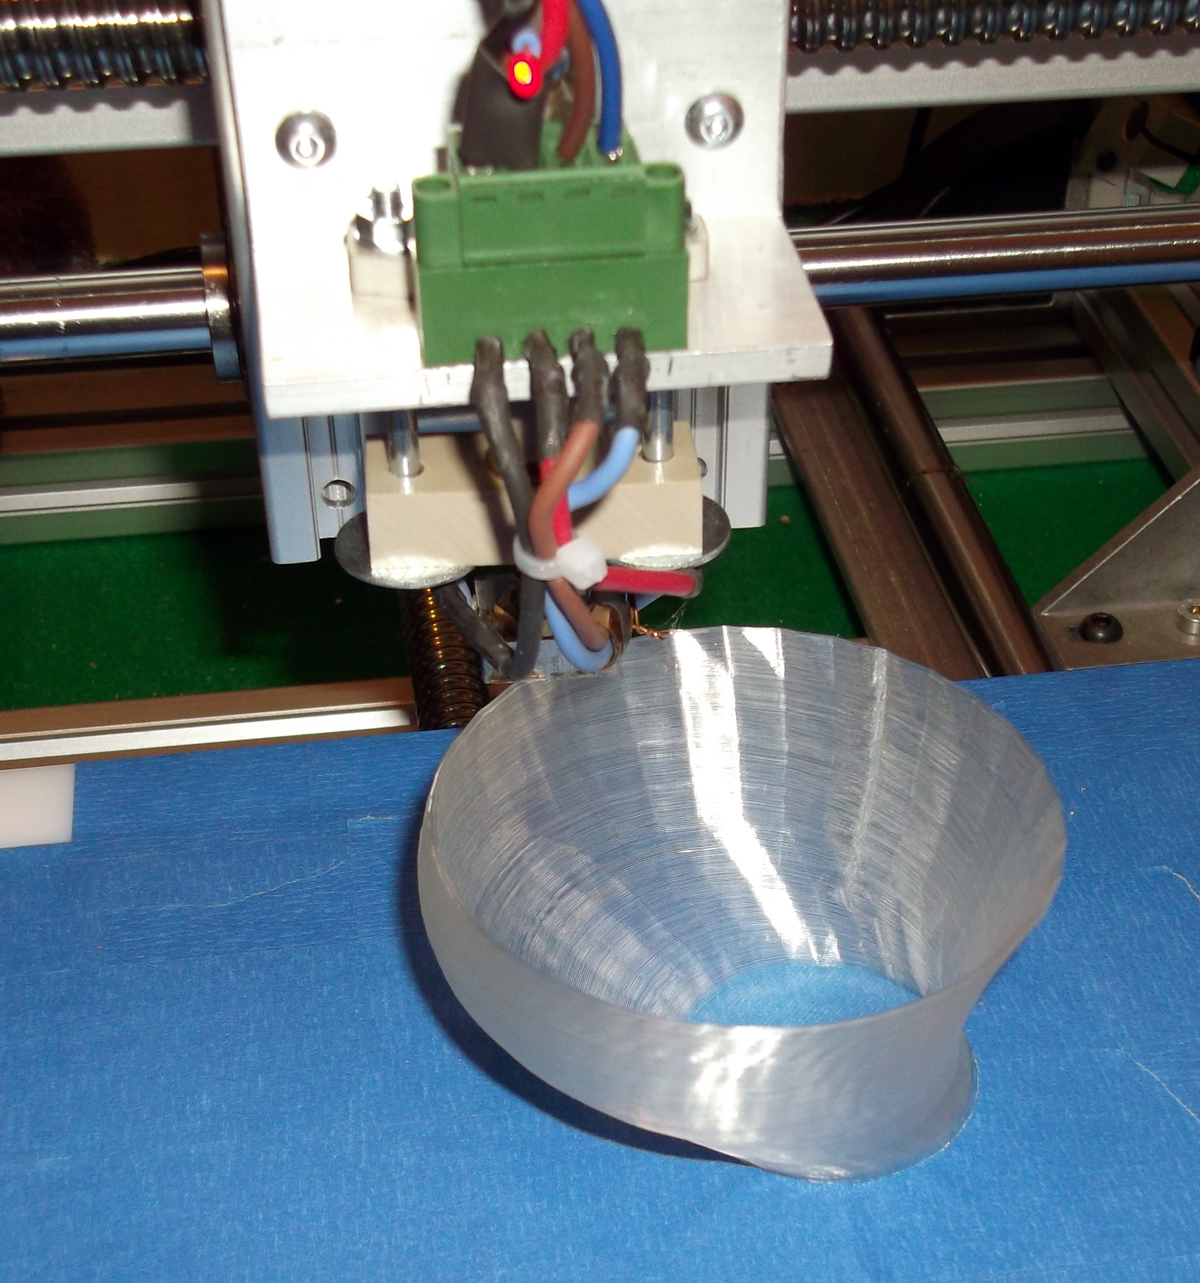
I printed a few things with the 'Fill' module turned off in Skeinforge, this is ok, but you only get one (fragile) shell 'outline' and no base or lid on your model, for me this seems to be a problem with 0.25mm layers, the material seems to collapse on itself. So I experimented slowing down the print but really I wanted to have extra material both to make the hollow object stronger and help it stay up during a normal speed print. If you leave the 'fill' module enabled but set the infill density to 0 you get a hollow model and you can select multiple outlines and also get a nice base on your model, this seems to work really well if you are trying to print large things without a heated bed.
Here are some results printed at exactly the same speed I would print a solid model - (straight off the printer).
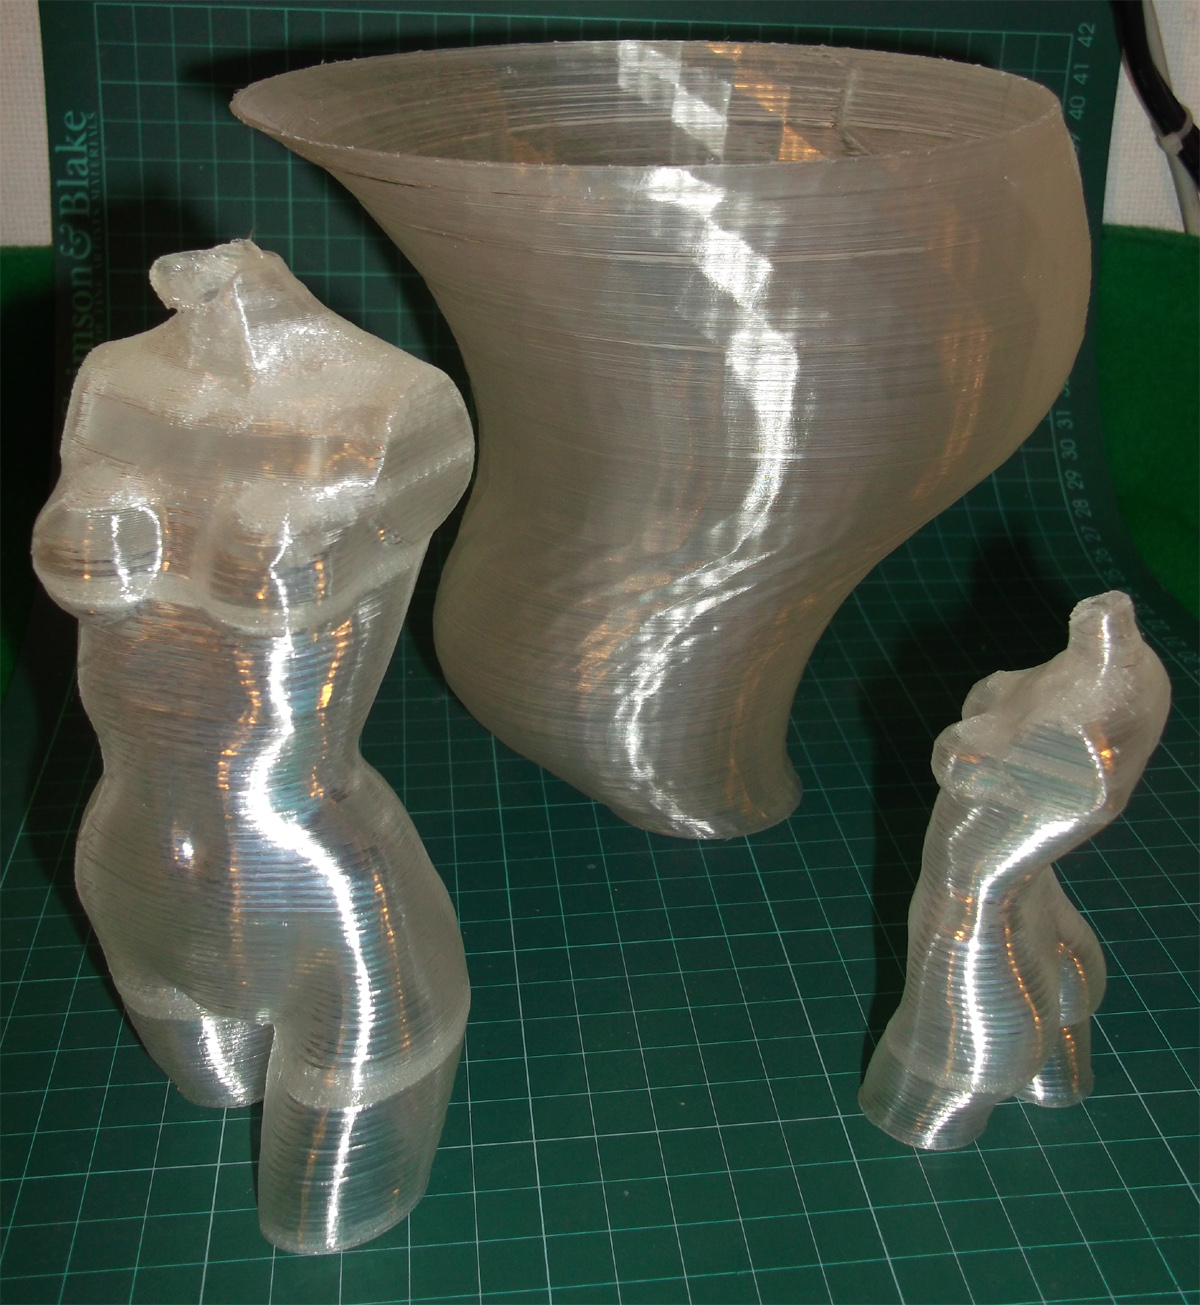
Firstly thanks to Sublime for the fixed model of the Pink Panther woman, here is the progress printing a 95mm high and a full height 150mm version -

Solid base on the legs gives it a really good grip on the bed.

Don't you love the way the light catches her............. curves.

That was the tallest thing I had printed until the twister below.
The full sized one is 600 layers @ 0.25mm each.
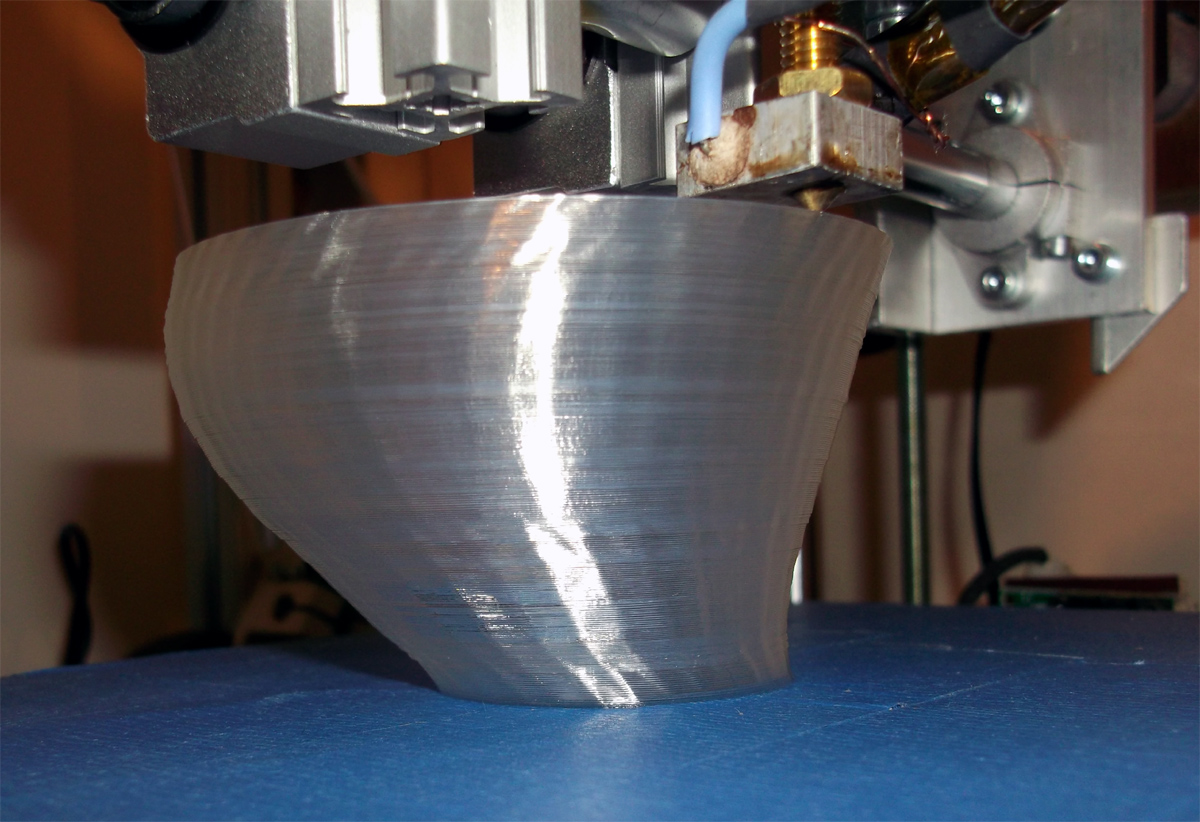
You can see from the edge that the visible banding is not a change in layer position and the object is almost completely smooth to the touch so the only thing I can think is that the slight change in heater temperature (bang-bang control) produces the banding effect? if anyone can confirm this or provide a better reason I would be interested in any feedback.
The camera also seems to extenuate it so something optical may also be going on.


I expect that I could have made it single walled if I slowed down the speed, but I would rather have a stronger object for the same print time.
This is the very Awesome Ultimaker Twister by Martijn


I have about 140mm more on my Z axis, so maybe I need to print something really tall next time.
Thanks for looking, and if you try printing hollow things let me know how they turn out for you.
Rich.
**************** EDIT ************ UPDATE ********** 27th June ***************
Thanks to Sublime for working out why Skeinforge still adds infill even with a hollow print causing the banding of infilled areas seen above in my prints -
So you need to turn off 'Infill in direction of bridge' in the Carve tab of Skeinforge for some models if you want a nice clean hollow print, but make sure you have your extruding temperature correct for the filament you are using, as you will suffer bridging issues if it's not spot-on, without this 'infill-support' you will be spanning free space.
When you slice this is what you may see with 'Infill in direction of bridge' enabled or disabled -

Skeinforge sees extreme over-hangs in the model which forces it to create the infill.

'Infill in direction of bridge' in the Carve tab of Skeinforge 'ENABLED'

'Infill in direction of bridge' in the Carve tab of Skeinforge 'DISABLED'

**************** EDIT ************ UPDATE ********** 27th June ***************
Thanks again Sublime, I'll try a few more hollow things now.
Rich.
I think I have figured out how to prevent the solid layers being generated by skeinforge. The culprit is "Infill in direction of bridge" in the Carve tab of skeinforge. It see's the extreme over hang of her crotch and nipples as requiring a bridge which forces skeinforge to create the infill above them. Try turning it off and use Skeinlayer to confirm it does not produce the solid layers.
ReplyDeleteThanks Sublime, that seems to fix the problem, Skeinforge layer output shows no solid infill even with the original model. I think the hollowed out version should also work and that should get rid of the bands seen above on my prints, I'll try it.
ReplyDeleteI will print out out and post the results.
Cheers,
Rich.
Thanks Sublime, turning off 'Infill in direction of bridge' works perfectly and gives great results, the only issue is with slight filament sag, but I have also noticed this coloured filament needs a lower temperature to give good spanning results, I reduced from 193 degrees C to 187 C and it works very well now.
ReplyDeleteVery Nice. What material is that?
ReplyDeleteP.S. Turning off infill in direction of bridge seems to fix a lot of strange behaviour in Skeinforge, especially when printing geared objects (heart, cube, sphere, etc) it also helps to turn off extra shells some times to allow for infill where it is not large enough for an extra shell.
That's a good tip, thanks.
ReplyDeleteThe material is PLA, it's very different from the other PLA I have used, and in that extruded filament it is filled with thousands of tiny bubbles. If I run it at 193 Degrees C it gets bubbles, at about 186 it's a lot more 'normal'
Quite brittle as a filament, but very strong when extruded.
can you sell one of those 3d printing machines?
ReplyDeleteHello,
ReplyDeleteYes you can sell them, and I could sell you one if you want, but it's always better to make your own. What are you looking for and have you looked at www.reprap.org yet?