Thursday, 31 January 2013

It's a small world, Tiny 3D printing on RepRap (FFF)

I'm having fun trying to print small things at the moment, not something I have really done before, so after printing some rather massive things over Christmas (on Rostock - I'll post about it soon) I wanted to try the very tiny.

While I'm waiting for a good Resin printer design to experiment with (for small detailed prints) I decided to see how well tiny FFF printing on RepRap could look.

Everything below was printed on a Tantillus 3D printer with a Bowden extruder setup (again, I'll do a post about Tantillus soon), so you may even get better results with a geared non-bowden printer, do let me know if you try any tiny printing, it's awesome fun.


For some idea of scale for all the below images - 
The UK £1 coin is 22.5mm in diameter.
A EU 1 Euro coin is 23.25mm in diameter
And a USA Quarter Dollar coin is 24.26mm diameter.

All the below prints are straight off the printer, no cleanup - as if you could at this scale :)
For reference I'm using an Mk V-BV J-head (1.75mm) with 0.35mm nozzle
All the below were printed at a not so low 0.15mm layer height, so still room for improvement.


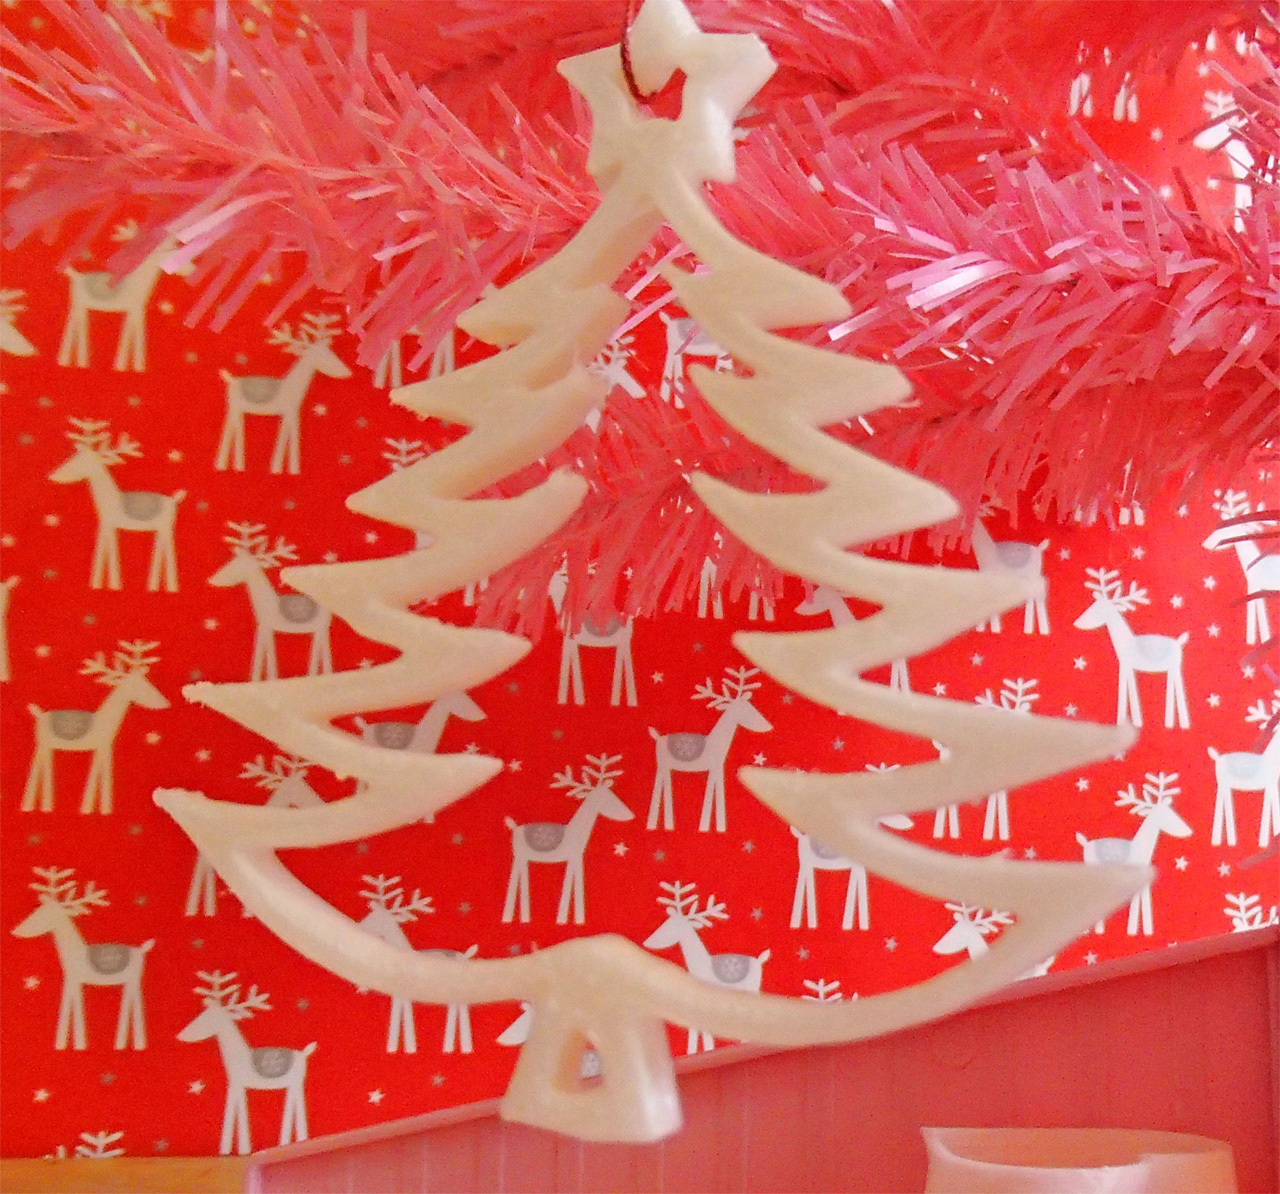
First up, something for a seasonally topical print, and remember it's not all about size!

This is Nophead's great Heart shaped box, but printed at 30% of the original size - yes, the lid fits perfectly.
These above are printed in natural Taulman3D 618 Nylon material, but is just as happy to be printed in PLA.

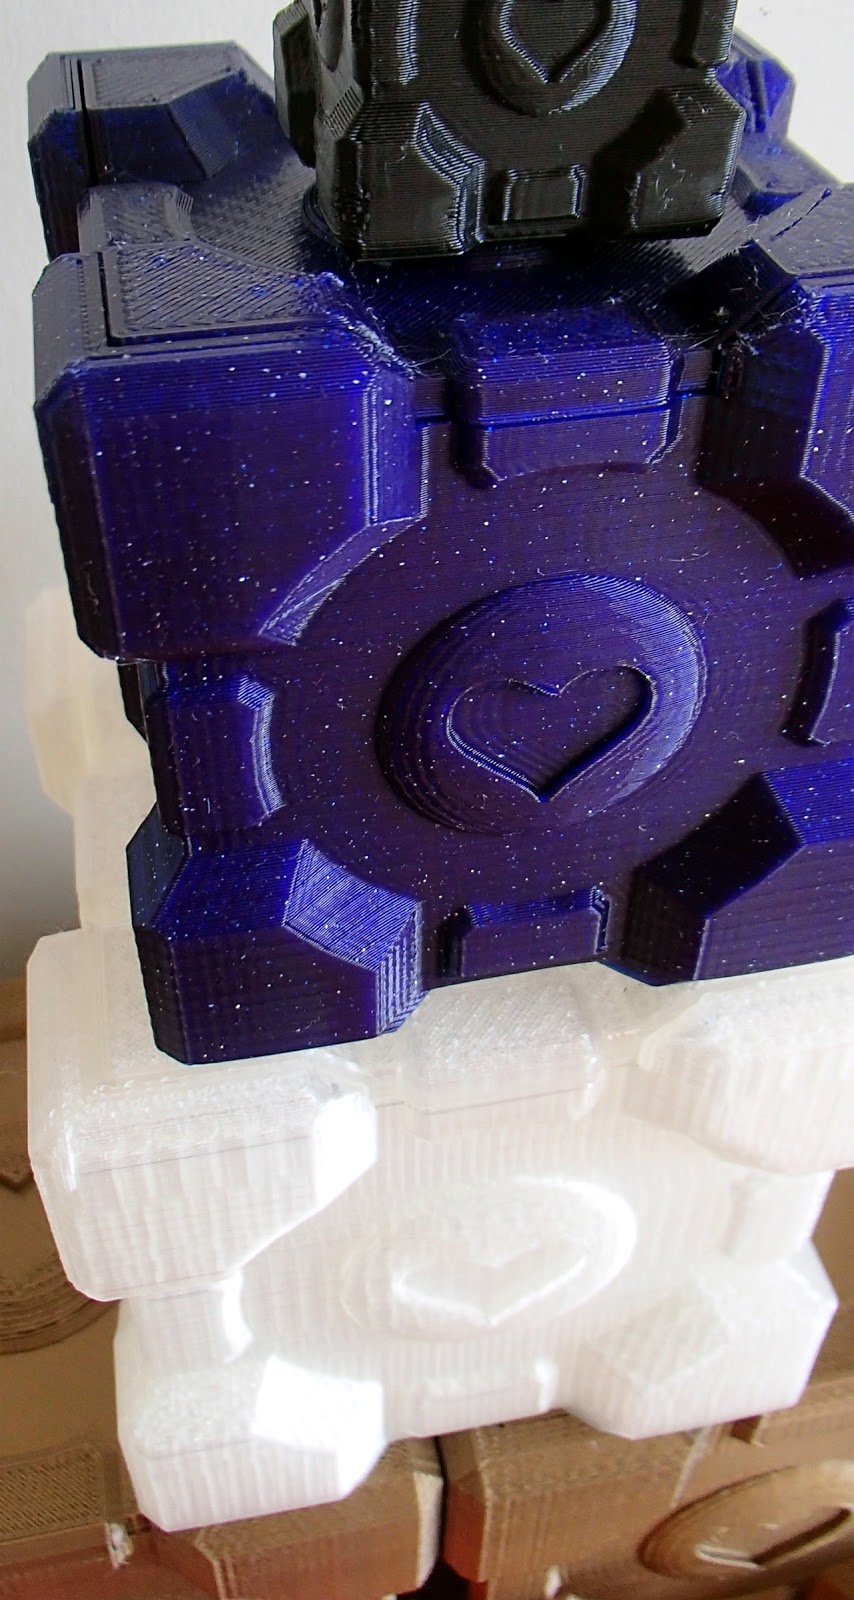
Another point to mention is that this box is thing number 61 on Thingiverse, way back in the early days, if you have not yet printed it, go get the download now it's almost Valentines day! - if you didn't get the hint.

PLA this time, it could do with slightly less flow. PLA needs a fan to cool as it prints, don't use a Fan for Nylon printing.

And the lid still fits wonderfully, even with PLA.

I'm printing these at quite a high speed (for the size of object) and most of the time as a single object to really reduce the chance of blobs and stringing, that has some big challenges of cooling.

I spent a lot more time photographing these objects than they actually took to print, that was a major challenge in itself.

Next up is the always great Frog by Owen Collins, this frog is normally 30.83mm wide and 15.28mm high, it's a reasonable challenge at normal size and you need good retraction for the feet.

This frog is half the normal print size

This showed up an interesting issue with Gcode infill, at this point I had calibrated my Tantillus using a very old version of Slic3r 0.7.2b as this is what's recommended with the standard configurations.
You can see the infill is not complete in the feet, after playing with the settings, I moved over to Slic3r 0.9.8 and this problem completely fixed itself, with almost identical settings.

If you want to try my profiles for Tantillus Slic3r Version 0.9.8 take a look at the post here for a download.
Do remember I'm using 1.75mm filament on this Tantillus, so if you are using 3mm, then change the settings.


I had a go at half size in Nylon, printing a plate of three at a time, as I'm not using any fan cooling at all for Nylon printing. They came out better than I expected, but extruder retraction needs another 0.5mm and a reduction in flow. It's even harder to photograph the Nylon.

This was one of the very first things I printed using the Taulman 618 Nylon, and a little too hot (235 degrees) for such a small print.

This was the smallest frog I could manage without it breaking apart getting it off the tape.
It's just 29% of the 'normal' size.
He is sat on a UK £1 coin for scale and measures - 8.94mm wide and 4.43mm high

The next print to try was the classic twisted pot -

This prints well, the original has a thick wall so when scaled to 50% (middle) it has two perimeters, and at 25% (right) it has a single perimeter.

The 25% one above is 10.14mm wide and 7.8mm high.

This little pyramid showed up an issue with my Z Axis speed, you can see a missing (squashed) layer at the base of the arms.

 I'm still trying to get a good looking 40% (14mm) calibration Pyramid, this is tricky, especially the top.


If you think you can do better, we have a 'tiny' competition on the RepRap forum here, take a look.
All the scaled down models I have used above will be on the RepRap Forum competition post, if you want to try out a few on your printer.

As I type we have two entries in the RepRap tiny printing competition -
Photo credit Petrus

One very nice print from Petrus of a hand sitting on a 1 Euro coin - at 0.05mm layer height!

Photo credit Gulf

And one from Gulf, Correct me if I'm wrong but that frog is sitting on a US 1 cent coin (19.05mm diameter) - Wow!

Thanks for reading, and do have a go at tiny printing, and post your results (good or bad) on the forum, you never know someone may even offer a competition prize if we get a few more entries.

And in other news... if you are not already signed up, take a look at the rapidly growing 3D printing community on Google+ Here, it's just bust the 10,000 member mark and is a great source of news and all things 3D printable.

Until next time.

Cheers,

Rich.

Tuesday, 11 December 2012

Christmas Printing!

Seasons Greetings and Happy Holidays Everyone.

I hope you are all having a good end to the year, for me the last few RepRap months have been extremely interesting. Lots of machine testing and calibration, continuing and starting some new developments and printing a lot of presents for people.

More about machines and developments in the new year along with some overdue tutorials I plan to get completed over Christmas. - Have a great time and happy Christmas printing - Rich.


This is an advent Blog post for Christmas, my kids have been selecting Christmas things from Thingiverse to print out and put on their trees. I have been following and printing out the great advent calendar tree by Pleppik, other things have just naturally been printed out as presents and gifts.

Here is the progress with our printed Advent Tree - 

Days 1 & 2 - 
It starts with two nicely wrapped presents under the tree

Printed in Christmas Gold for the base of the tree.

Days 3 & 4 - 
Candy Cane  Sledge and an X-wing!

Trunk of the tree in woodland brown, Sledge is in punk star pink and X-wing in white and robot silver.
The Sledge is very fine, if you have a 0.5mm nozzle, you may wish to set the nozzle size to 0.35 if using Slic3r or it's not going to print out all that well.

Days 5 & 6 - 
Train and a bright white Snowman.

The train really needs some support to print correctly, I missed that and had a small shift in printing as the bottom got a little messed up, but it still fits in the box.


Days 7 & 8 - 
Glow in the dark candle and an orange coffee mug.

Green happens to be my favourite colour, so I tend to have quite a few different shades. I'm going for darker at the bottom, getting lighter as the tree gets taller.

Days 9 & 10 - 
Brown church and a slightly off-white igloo (Architects stone white).

We are starting to get some form and real colour to the advent tree. 

Days 11 & 12 - 
Gingerbread House and a Makerbot Replicator 2

The Gingerbread house needs support, or if you don't want to use support material then use my modified Gingerbread House here.

The Makerbot Replicator 2 model also needs support, but I have modified it slightly to allow it to print without any support, Get the non-support version here.

Days 13 & 14 - 
Tree in Nuclear Green ABS (the only bit in ABS so far) and the Gingerbread Man is in the much under used but so loved Buttercream PLA


Nuclear Christmas tree and a Gingerbread Man!


Days 15 & 16 - 

Bell and (good enough to eat) Candy Cane


The Awesome candy cane is printed in Awesome Aurora PLA from Faberdashery.co.uk - it's UV light reactive and changes colour from a wonderful light sugar pink to a stunning vivid blue.


Days 17 & 18 - 
 
Dr Who Tardis and a Pearl White snowflake
Day 18 had the 3rd different White PLA in this Advent tree, this time it's Pearly White, one of my favorite's
That's it for white now, if I need any more I'm going to have to get creative.


Days 19 & 20 - 

Day 19 was a Santa Hat, this is a little tricky to print in one part, and would require support material, I didn't fancy doing that, so I sliced it in half and glues it back together with a drop of superglue.


These boxes are printed in the 6th different Green plastic - Jade Green


The Day 19 Santa Hat is printed in the stunning new Mercury Red (Metallic PLA) - it basically makes anything you print look like a Super Hero, really fantastic material.

Day 20 is also a new Metallic PLA - this time Space Marine, totally intergalactic.

I'm almost out of different Greens - I did mention it's my favorite colour :) I have two remaining...


Days 21 & 22 - 

Some multicoloured prints - 
Burning logs (Brown,Red, Orange & Yellow)
Plate of cookies (White Plate, 'Butter cream' cookies, layer of 'Bling Bling gold' and 'Woodland brown')


The minty green was never going to really fit, but I wanted to use them all.


Days 23 & 24 - 


The Festivus Pole accompanied by a Grinchy Claus :)

And a super rocket!

Almost done !

Christmas Day - 


A snowy top of the tree, Bling Bling Gold star-burst and a Neon Cyber Yellow Star.


Have a great Christmas, Happy Holidays, Seasons Greetings !


Tree decorations - 

I'm loving this Gyroscopic snowflake by Roman_Hegglin, take a look on Thingiverse here.
It's BIG, and a great object, it's all printed in one go, when you pick it and move the rings a little the parts just start spinning perfectly!

Roman also has some smaller snowflakes on the Thingiverse link above, check them out.

My kids are selecting a thing a day to print, advent style to decorate their trees and rooms, here is the progress so far with links to the great Christmas models and designers on Thingiverse. 


For starters the great Christmas tree by TopperDEL

Most of these are printed in the fantastic Pearly white PLA by Faberdashery

And yes, that is a very pink Christmas tree!


Try to print the modern star if your printer's up to it!


And if you fancy even more twinkle for your tree take a look at the new Sparkle range from Faberdashery.
Space Marine and Mercury Red look amazing and if your giving a Raspberry Pi for Christmas get hold of some Raspberry Spark and print my version of the Super Pi case.


Really like this one, slightly tricky to slice if you are using Slic3r - make sure your nozzle size is about 0.42mm and you should get nice lattice work - 
Also set the first layer width to be the same as the rest for a nice looking print.


Snowflake by JonMonaghan - I have printed so many of these, they are great to print and look amazing especially in different colours.


Snowman by ChristineBowyer - This little snowman is a real family favorite, we have printed a lot of these in many sizes, I even printed some in Sugar paste earlier this year.


This one is a really interesting one to slice, you can go for a big nozzle width and get just shells for a very quick printing time, or a smaller fine nozzle and get a lot of tiny infilling slow print but a more filled look.

I also had some interesting differences with two recent Slic3r versions while attempting to slice this model, here is what I was seeing with Version 0.9.1 (my usual version at the moment) and testing out V0.9.5 

This was with Slic3r V0.9.1 - 0.42mm nozzle and 0.67mm single wall width, no infill - Slic3r makes a few little mistakes in the model but this GCODE prints well and quickly, the middle section is just loose enough to pop it out if you feel like it.
GCODE file is 200KB

This was with identical settings as above but with Slic3r V0.9.5 - This actually makes for a nice looking print but it has lots of tiny points of infill and a lot of extruder moves - it should also NOT be doing any infill, all filling and solid layers were turned off.
GCODE file is 250KB

This version is back to Slic3r 0.9.1 but with 0.42mm nozzle and 0.47mm single wall width, 20% infill, you really do end up with a dual ring around the snowflake, a nice print and quite quick.
GCODE file is 400KB

To test the infill problem of Slicer V0.9.5 I used 0.42mm nozzle and 0.47mm single wall width (as above) but had 0% infill and 0 top and bottom layers, this should give a hollow object, as you can see above it made a nice and filled star. This GCODE, 2.5MB and has some nasty high speed infills causing resonance in my printer and a massive number of extruder reversals, not one to print!

The photo hanging on the tree was with a slightly tweaked single wall size of 0.5mm GCODE was about 1.5MB Using Slic3r V0.9.5 - I never did manage to get a really nice print out of V0.9.1 but as Slic3r has moved on quite a few revisions now  I'll take another go with the next version as I type this it's V 0.9.7

A great little robot with support already designed into the model.


Traced Snowflake by Landru

Star Flake by IHeartRobotics

Little Green Man Christmas Ornament by gpvillamil printed in Jade Green

Angel by tc_fea -  Printed in Angelic pearl white and shimmering gold.


Gift Boxes -
Another popular present to print is the Extra Printable Companion cube by Keegi, this box is just perfect as a gift and can be scaled to any size easily.

The Original Companion cube upgrade was made by Landru, well worth a look if you don't want a box.


It also makes for an impressive Russian doll style stacking box set if you scale them to fit into each other.


Over the last few months I have printed more than I can count of these, the smallest being about 7mm and the biggest so far printed on a Rostock printer at about 186mm wide. 


The RepRap presentation at Cheltenham Geeks in November was great, lots of people turned up and we had quite an evening discussing all sorts of 3D printing and additive technologies. Thank you all for a great evening, can't wait to do it again. - I'll have the presentation and notes available soon (sorry for the delay)

Meeting in December (13th) for drinks and planning events and hacking for next year, see here and come along if you can.

Follow Cheltenham Geeks on Twitter here


Merry Christmas Everyone, and have a very Happy New Year!

Cheers,

Rich.