It's fair to say that 2020 has been a difficult year for everyone. I almost didn't write this blog post, but I wanted to finish off 2020, looking forward to a better 2021.
With the global virus pandemic causing troubles and uncertainty we all have less time to do the things we enjoy. This year has certainly been a strong reminder to us all, to try and enjoy as much of life as possible.
I have kept 3D Printing during all of 2020, but have not managed to share as much as I would have liked.
I started off 2020 firmly intending to do a lot more 3D Printing development, life and the global virus somewhat got in the way of many plans. We had a lot of 3D printing events cancelled and social meet-ups have been impossible.
Here is a little summary of a few things I have designed and printed and a some general thoughts on the 3D Printing market, open source projects and interesting things that have happened in 2020. And finally a look to 2021.
Retro inspired concept computer -
Some of you will know that along with a strong passion for 3D printing, I have a love of retro computers and 'old' game systems, it's an ongoing interest that pre-dates 3D printing and something that I still enjoy and do to this day. One of my early 2020 projects was a reimagining of a 3D Printed classic computer, loosely based on the Amiga and C64 range of the 80's and 90's.
The 'C=Next' concept computer (using a real Amiga A500+ Keyboard) Yes, it is 24 Inches wide!
This was a large multi-part print, three large sections for the main keyboard and some end caps for the I/O on each side of the computer.
I had an old A500+ computer that died a death from an internal leaking battery (I know, it's tragic this was not better stored or should have had the Varta battery removed long ago) - But it did allow a donor keyboard for the new machine.
Yes, the logo is colour changing :)
This has further evolved over the year, it probably deserves a blog post of it's own, if you want to see more on this project and the evolution of the internal electronics inside, let me know.
3D printed electronics and enclosures -
Ok, so it's not '3d printed electronics' but I have printed out around 15 different PCB models to help verify they can mechanically fit, and assist with the design of many electronics enclosures this year.
Even basic enclosures can be simple to 3D print and give a 'finished' look to a prototype.
I can highly recommend using brass threaded inserts when designing any sort of enclosure you intend to open up or fit together accurately. A temperature controlled soldering iron can assist with inserting into a pre-printed post as shown above.
3D printed test and programming fixtures are now a common design for any new prototype electronics or product developments. They are simple to print and build and can easily save you thousands in the cost of getting something 'professionally' made. I have made up a lot of different 3D printed rigs and jigs this year.
Brackets, mounts and almost anything that needs a place to accurately fir into a system or development - I loose count of all the mounting plates, adapters and holders I have printed this year. pre-production runs of 3D printed parts is now a common aspect of product design and development.
3D printed pond filter system -
During the UK summer lockdown I decided to upgrade the pond filter system. I could not get out to any shops and I didn't want to order a system online, so I decided to try and make a pond filter system from a plastic box, some unused pond filter sponges and some 3D printed parts.
I decided to add a little shelf so the clean filtered pond water could exit the box as a waterfall.
I already had a good working pond pump, so this entry (above) was the dirty water inlet.
Some sponge filters I had from an old pond filter that died many years back.
Filters cut to size and inserted into the enclosure along with some gravel for added weight.
The pond filter has been working really well all of the year.
Lots of practical 3D printing this year -
I could probably bore you all to death with all the practical 3D printing I have done this year. It's been sometimes a necessity because other options didn't exist, or an opportunity to use 3D printing to solve a problem quickly.
Replaced some fence posts and I didn't like any of the fence post toppers, so I designed and printed my own.
This shelf had no end caps or iron-on strips, so a quick bit of 3D cad and a few hours of printing later - with wonderfully colour-matched recycled grey PLA, it was finished off nicely.
Even a simple end-cap for an unused plastic plumbing waste pipe - this was quicker to design and 3D print than a trip to the hardware store.
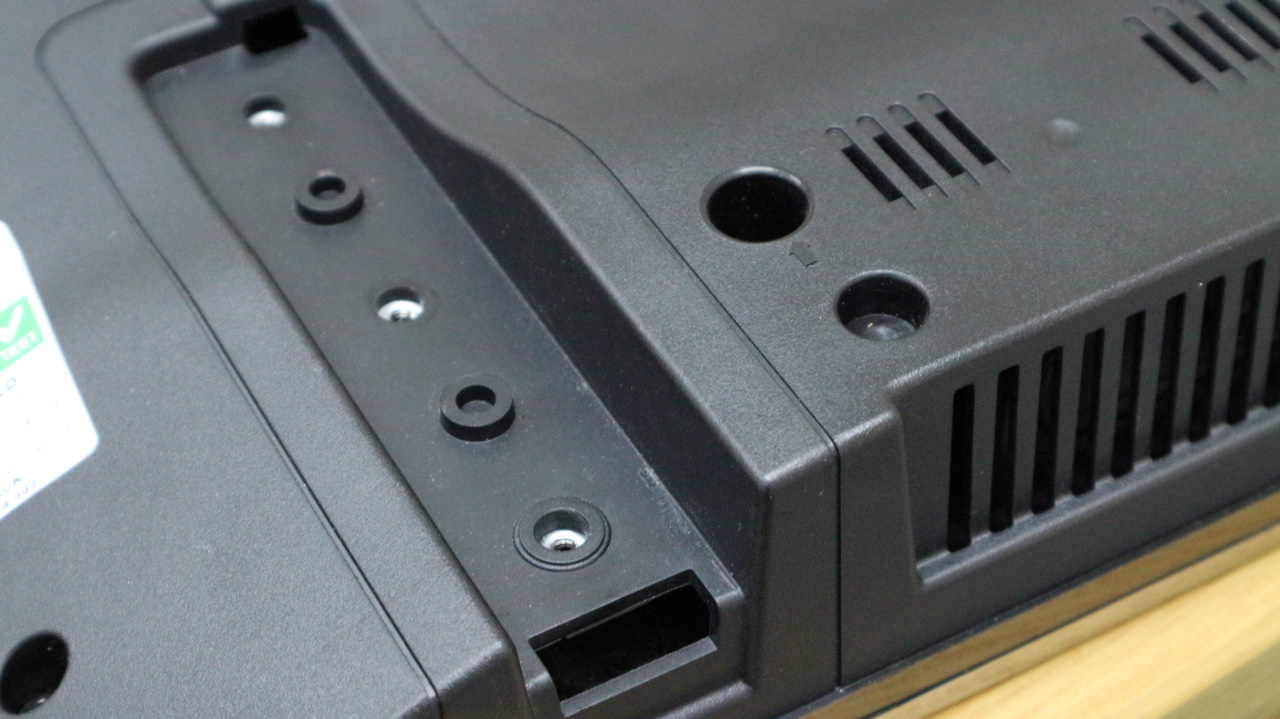
I had a wall mounted TV that needed to be desk mounted again, but the original feet were missing.
A quick (and solid) design and 3D print later, we had two new desk mounting clamps for the TV.
Mounted and fixed to the desk, it's going nowhere.
I could go on with more practical 3D prints this year, but you get the idea - a lot of things were fixed, repaired and produced with 3D printing this year. I doubt more than a day went past when I was not 3D printing something for someone or for myself.
The end of 2020...
The 3D printed Advent calendar's come out every year, they still are a great talking point both for 3D printing and the vast selection of different materials used.
Many of my past projects and experiments are still active in one way or another today, people continue to innovate and evolve ideas. Even as we enter 2021, 3D printing is still in it's 'early stages' of being useful to the 'average person'. When you start using 3D printing to solve every day problems, and turn design ideas into practical printing solutions it's a wonderful tool.
We have seen some really great OpenSource and OpenInnovation 3D printing projects this year. I plan to cover these in 2021 and also get further involved with as many as possible.
Things I would like to see more of and help with in 2021 - Please reach out to me if you are doing or planning any of these, I will try to help if I can. (Most of the links below are to my past blog posts doing similar things).
The continued increase and use of sustainable (multi-use) filament spools / Cardboard and MasterSpool filament coils.
More recycled plastic content in 3D Printing - both as recycled filament materials and as re-used print waste. Recycling filament plastic (2015)
More tool-changing systems - additive and subtractive - manufacturing systems, continuous printing (belt-printers) and automatic build platform change systems.
I would still like to see many more light weight extruder+hot-end systems, ideally around 200g total weight. I see a lot of bowden based extruder systems that could/should benefit from a good quality, light and strong direct-drive-geared extruder and hot-end combination. Especially on machine using IDEX, they could be greatly improved with a move away from bowden to a light weight direct extrusion system, maybe 2021 will bring more to market.
I'm always looking for interesting 3D Printing filament materials, especially engineering grade or ones that that are matched to classic computer colours. A few have popped up during 2020 Printed Solid over on Twitter has a range of Retro computer filament colours
I'm still incredibly interested in paste extrusion, coupled with a tool-change system and some FDM printing it could offer a lot of good options for manufacturing and making.
See you next time, and if you have a new and interesting 3D printing project, development or material you want me to take a look at, do get in contact.
I hope you all had a safe and happy holiday season, and Happy New Year for 2021
Rich.
P.S - If you haven't yet found the joys of Podcast's, do consider giving them a go. I can strongly say that without Podcasts in my life, 2020 would have been 10x harder to 'experience'.
Please join me on Twitter @RichRap3Dif you want to discuss more about 3D printing (or retro computing).
My Youtube channel is here, all 3D Printing and Hi-Def video content, I do hope to get back to publishing new video content in 2021.
Christmas Advent 2017 Download on Thingiverse here - designed by Tom Van den Bon @geekc0der With some help for each day by the South African Makers team.
Below is an overview video that will help you pinpoint any specific materials you may want to know more about. Printing advice, tricks and tips are included on each blog post during December 2017.
You can also watch this video in full HD, and many more from me over on YouTube Here
For a quick jump point and an overview of each day, see the list below -
LulzBot are without doubt (in my opinion) the most open-Source 3D Printing company in the world.
Here is the start of my journey with the TAZ 6 3D Printer.
I could spend an entire blog post just telling you how LulzBot have open-source in every single aspect of their business. Not just the 3D printers they design, develop, support and manufacture, but all the systems they use, computers running them and well just everything. If someone told me they only drank open-source coffee? I would not be surprised in the slightest.
To the point they will contact independent developers (anywhere in the world) and help them finish, refine and improve a little-known open-source software package, because they would like to use it in their business too.
Just have a poke around on the LulzBot development site if you want to be impressed by Openness - http://devel.lulzbot.com/
LulzBot (and the Parent company Aleph Objects inc.) support many independent projects and diverse developments, they don't always shout about it, they just get involved and encourage. If I lived in the USA I would be camping out at LulzBot HQ.
We need to see more of these manufacturers in an amazing community like 3D Printing. I hope LulzBot always manage to stay that way. Anyway, enough of that. You can see I have a lot of time for the LulzBot team, their products and everything they stand for.
My admiration of LulzBot is not going to stop me from a detailed (and sometimes critical) look at their 3D Printers, software and generally the user experience with all of it. They thrive on all feedback and it's one of the fundamental aspects of open-innovation, so here we go with a first look at the LulzBot TAZ 6 3D Printer.
I'm not going to attempt to 'sell you' on this 3D printer. It's been out for a while and has already won awards on 3D Hubs and has a good reputation in the 3D printing community. You can make your own mind up about the machine. See if it's right for you and at the price point and feature list you need.
I'm not even going to go into detailed specifications about print size or capacity, you can google that or just look on the LulzBot website. I'm going to focus on the experience and how reliable it is over a long period of use and abuse in the real-world and how it handles lots of different materials.
I hope to be able to show you what it can and can't do over this and more blog posts and video's. If you have any questions or want me to try something specific, just send me a message (twitter is best, but anything usually works - apart from carrier pigeon).
If you watch the first video below (it's long, but I make no apology for that) you will see that you get a really good first experience with unboxing, assembly and setup of the TAZ 6.
I hardly ever do 'unboxing' video's, but this machine just deserved a showcase.
Quick jump index -
01:28 - Materials
03:35 - Unboxing the TAZ 6
06:15 - MOARstruder ???
12:30 - Approvals, regulations, safety
17:00 - Taz 6 Assembly
28:50 - Power ON...
30:30 - Handheld Gaming (3D printed)
32:55 - In the next TAZ 6 Video
I have always been a huge fan of the LulzBot 3D printers, I printed out and built up one of the very early prototype TK-0 machines back in 2013 (an early version of the TAZ design) I made many modifications and eventually dedicated my variant as a portable machine to use at shows and events.
During discussions after the TCT Show in 2016, the team from LulzBot kindly offered to send me a TAZ 6. This is not only great, but as it's a machine that is not normally seen in the UK / Europe I really want to help support the growth and awareness of LulzBot products (and their open-source / Open-Innovation nature).
I did have some initial setup problems, I will go into detail in Part 2 of this blog post and video series.
A pesky dislodged connector caused me some initial setup problems, but it was quickly identified and resolved. Much more about the problems, issues and resolutions in the next video / blog post - along with lots of 3D Prints and feedback about both print quality and user experience.
LulzBot also sent me over some materials that are tricky to find over in the UK or Europe. These have been really great to try out and do work exceptionally well in this 3D printer.
LulzBot standard ABS Filament.
Chroma Strand Labs Inova-1800 Co-Polyester.
The only Taulman3D material I had yet to try out - Taulman n-vent
And Verbatim PLA.
LulzBot also included some sample filament in the TAZ 6 Box. This is what you would get if you just ordered the printer - Very nice filament from Proto-pasta and Colorfabb.
Initial assembly is very straightforward, a detailed manual guides you through all the steps and provides great advice along the way.
Every single part (including the full set of tools provided) feels high quality and 'engineered' to a fine level.
I talk a lot about the approvals and regulations for this 3D printer in the video (it's a very good thing). I'm not going to repeat myself here, but do watch the part about 3D printer approvals (12:30 onwards) as it's good to know why fully assembled, well designed and tested machines are worth the extra cost etc.
Noise level is acceptable during setup and also full operation. It's around the same overall noise level as a Prusa i3 MK2 (normal setting) the Prusa quiet setting is slightly lower. The TAZ6 has a lower frequency to it's noise level output (slightly bigger fans than many 3D printers) so feels less annoying and less distracting in the background. The TAZ 6 is a lower overall noise level than the BCN3D Sigma (2016 version).
I have no problem with the TAZ 6 running in the same small room when I'm 1.5M away from it.
A test print Octopus (Above) was included, I had no problems replicating and exceeding this print quality with the Taz 6.
We did plenty of 'play printing' over Christmas, lots of the standard objects, test prints and plenty of decorations. When it was all dialled in I started to explore what the TAZ 6 could really achieve.
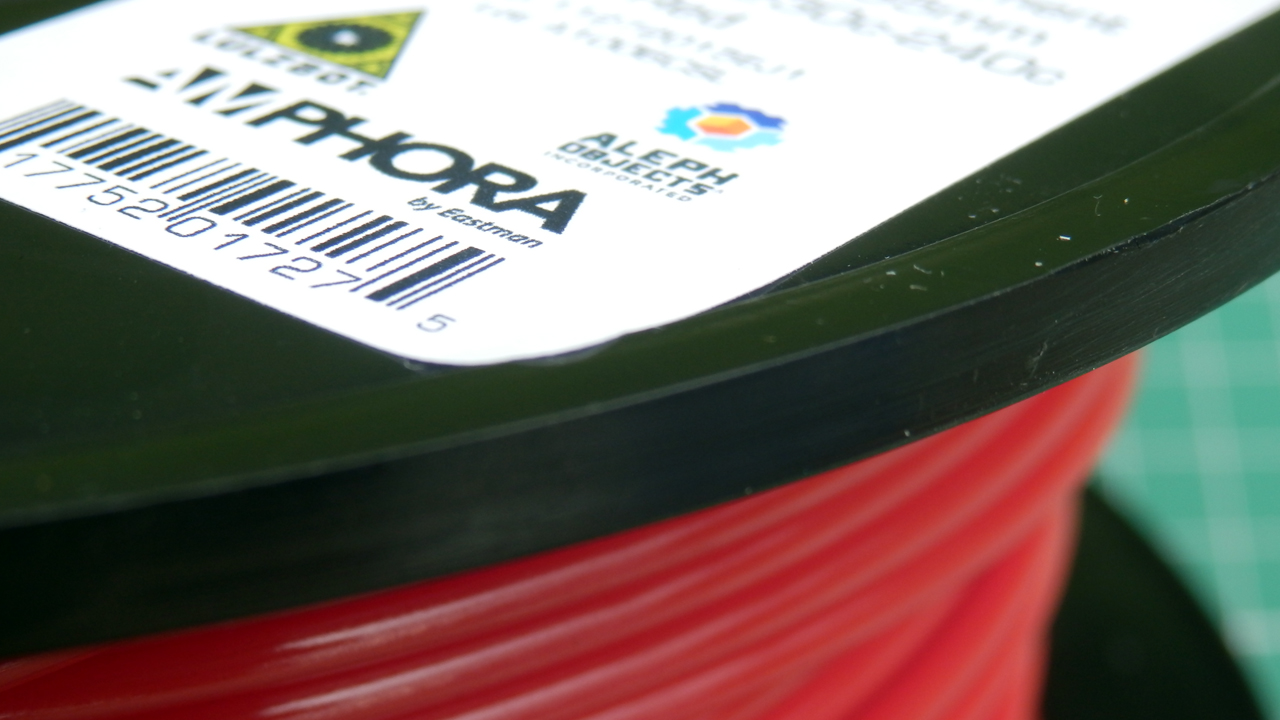
The Red Chroma Strand Labs filament was really nice to use, and strong. I designed and printed some hooks for hanging objects to rafters, they were clean prints (just look at those perfect layers) and very strong indeed. I'll see if I can work out a way to break these and compare the results with PLA or ABS for the next blog post.
It was not long before 17+ hour prints were being tested and then multi-day objects in ultra fine and full build area dimensions. (more on that next time).
As default it is set to print quite slowly. The default profiles for Cura have a low speed of travel rate, it can handle a lot faster. The firmware (Marlin) acceleration feels slower than my normal settings. There is nothing wrong with going a little slower and having a lower acceleration, in fact it can improve both print quality and further reduce noise level.
The issue is more with the fact this printer can print BIG, so really you are going to need a compromise of both speed and quality for some bigger prints if you want them to finish in a working day or before going to bed. That's no different to many 3D printers, so this issue is not aimed at the TAZ, just an observation with bigger build areas in general.
LulzBot have installed a 0.5mm nozzle as standard. This provides a a good mix of speed v quality in many types of printed model. The original RepRap 'standard nozzle size' was 0.5mm, but over the last five+ years it's now much more common to see a 0.4mm being fitted to almost all 3D printers.
You could replace the nozzle, but if anything I may decide to go even bigger, this machine is just crying out for a great big nozzle to produce some serious 3D prints fast and accurately. And on that point I had hoped to be testing out the now MOARstruder, but sadly it was not quite available when I asked about it. (see below).
MOARstruder is now fully available for the TAZ5 and TAZ6 directly from LulzBot on the website, you can check it out here.
After a lot more printing and testing with the TAZ6 Hexagon hot-end, I'm probably going to make a new extruder for the TAZ6 using the E3D Volcano. The Volcano is very similar to the new MOARstruder, in fact the nozzles are interchangeable for the Volcano ones, so you can fit hardened, stainless, brass or copper types.
In the next LulzBot TAZ 6 blog post (and video) will go into a lot more detail about the print quality, settings and use of both Cura and other slicing engines on the TAZ 6.
The TAZ6 did a lot of printing towards the end of 2016 and over Christmas. I now feel I understand many of the limits and balance between quality and settings for this 3D Printer. I significantly tweaked the profiles and then also stopped using Cura. It's producing solid and consistent results and has handled all materials I have thrown at it.
This 3D Printer is a very well engineered (slightly over-engineered, but in all good ways). It feels solid and always in control, the bed-level system is low-tech, but reliable and more importantly it works really well.
I'm totally enjoying the 3D printing experience with the TAZ 6. Plenty of things I would (and will) change, but for an out-of-the-box experience, it's delightful from delivery to first print (apart from the issue I had, but more on that next time). I have a lot more feedback for anyone considering this 3D printer, so join me text time for a closer look at the prints, profiles and capability of the LulzBot TAZ 6.
I almost forgot, in the video I talk about a Handheld Retro Gaming PC system I made up (Windows 10 to emulate older games and the like) - it was a simple and fun 3D printing project (anyone could do), I'm happy to go into a lot more detail, let me know if anyone would find this sort of project interesting. I do a lot of projects using 3D printing and often electronics / Arduino etc. - Not really sure if I should post more of these here or not?
Not printed on the TAZ 6, but I found it and talked about this project in the TAZ 6 video above, let me know if you want to see more projects (and maybe a design / assembly guide?) on these sort of things.
This was just a brief introduction to the TAZ 6 experience. Lots more next time, I hope you enjoyed it.